Setup guide
Here we'll walk you through the details of getting set up on Granola. For a higher-level overview of using it end-to-end, see our Quickstart guide or our more detailed Granola 101.
Platform availability
Granola currently runs on macOS , Windows and iOS, linked to a Google account.
On macOS and Windows, you can use Granola to transcribe and summarize:
meetings on any software - like Google Meet, Teams, Zoom, or any others that you use
in-person meetings
voice memos to yourself
any audio playing off your computer like a podcast or YouTube video
Our iOS app can currently only transcribe and summarize microphone audio like an in-person meeting or a voice memo to yourself.
Installing Granola
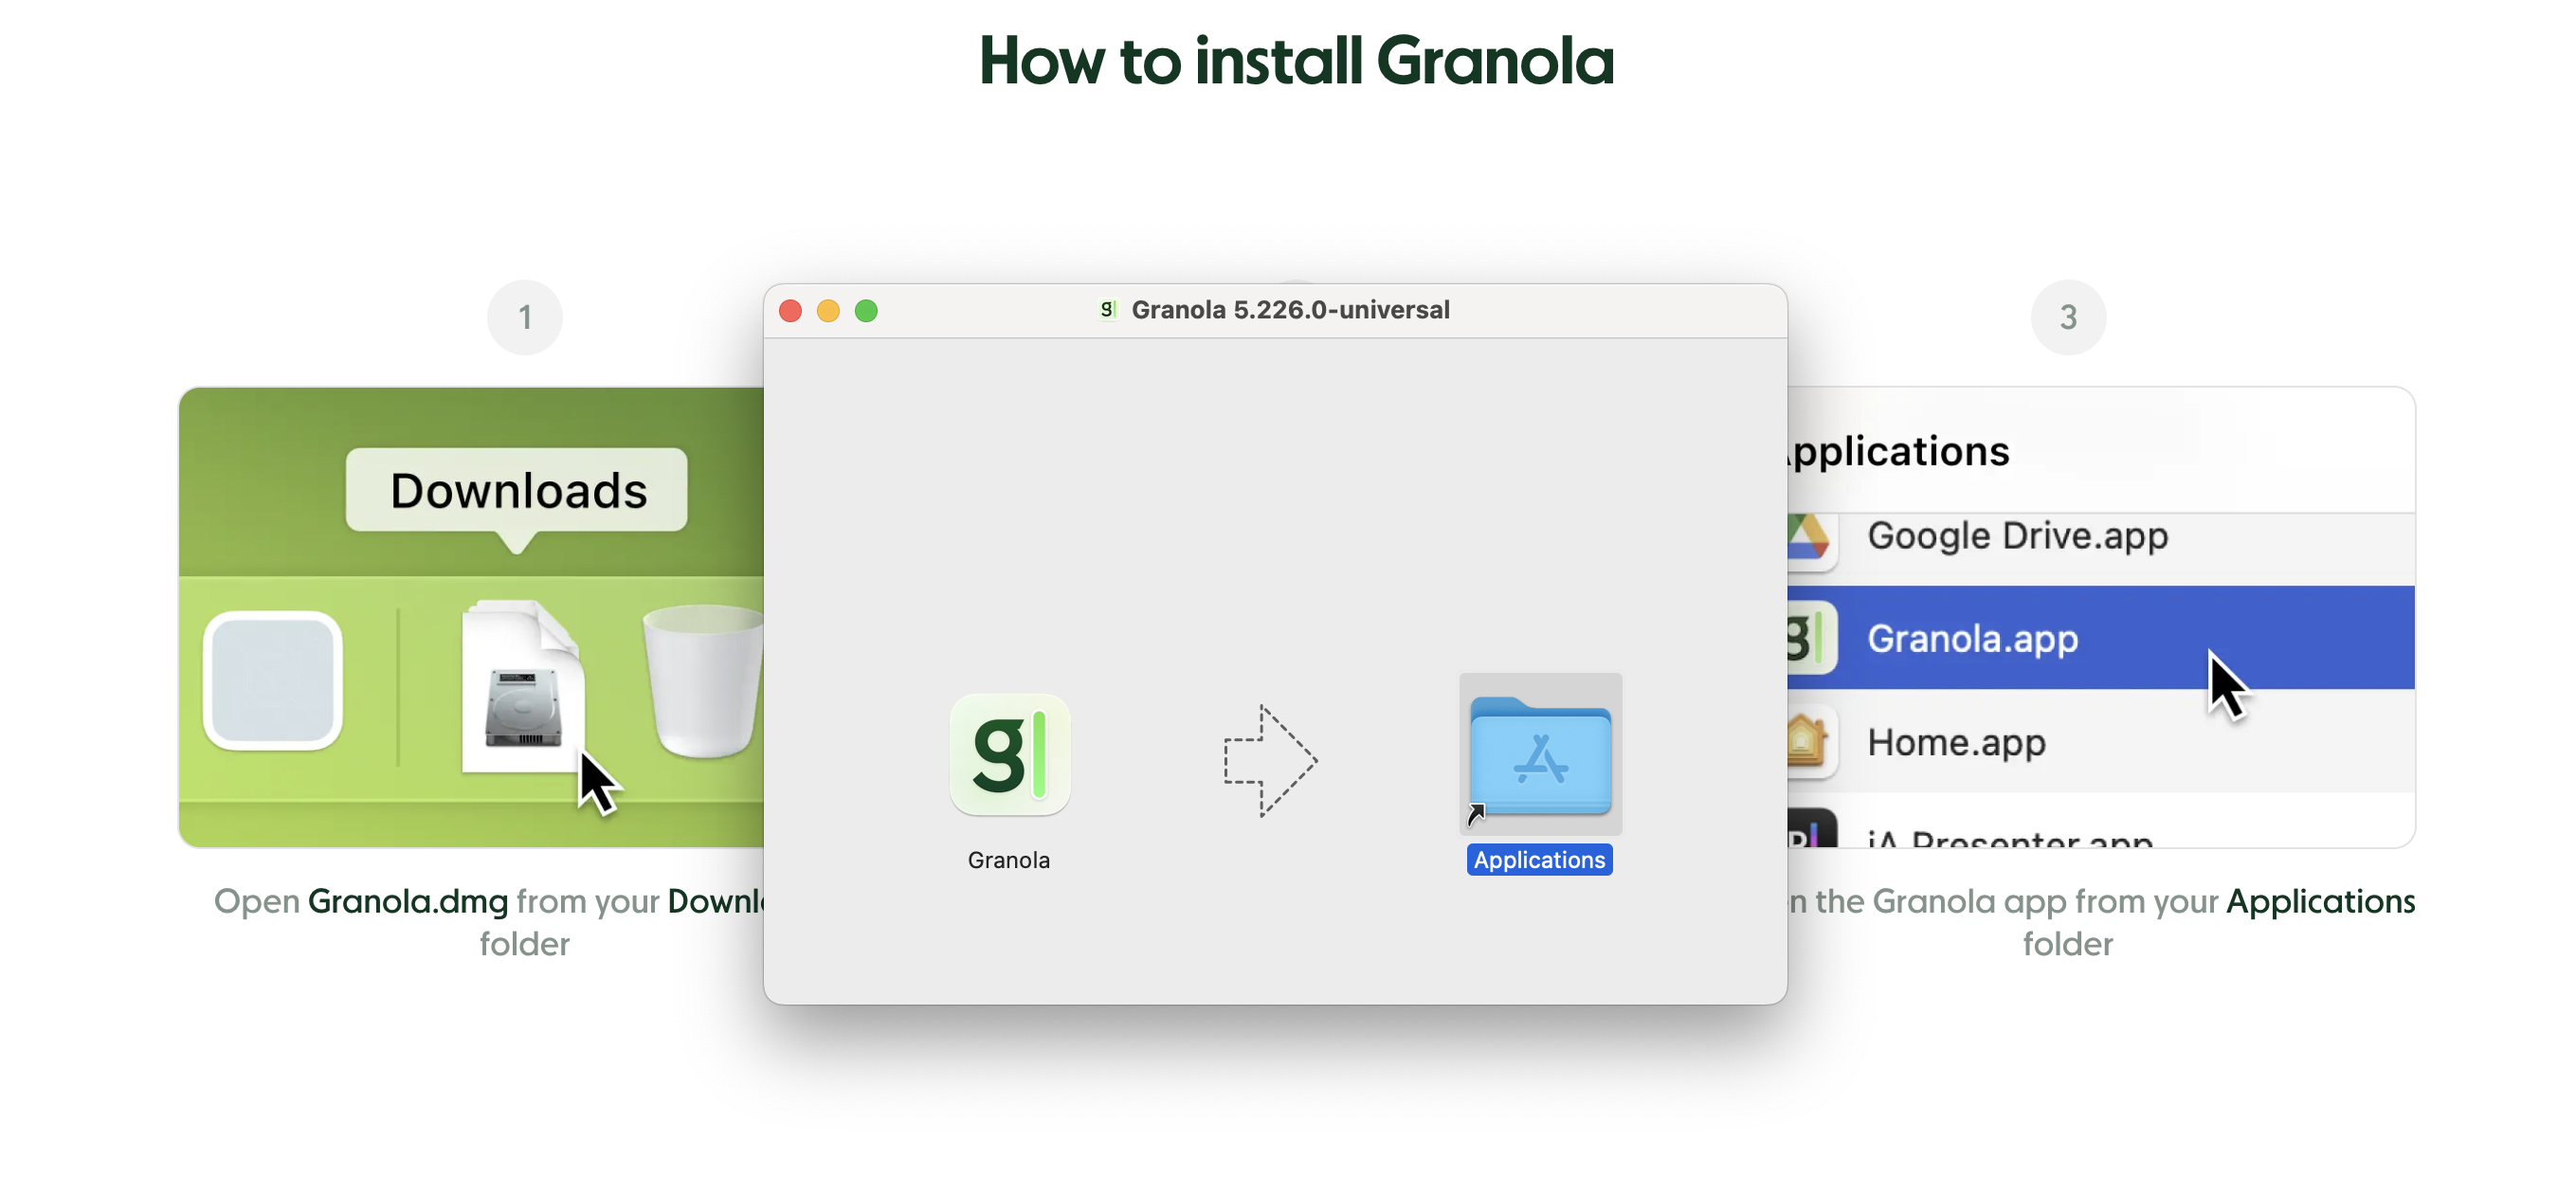
For macOS
1. Download Granola from our website
2. Open the Granola.dmg from your Downloads
3. Drag the Granola icon into your Applications folder
Granola requires a minimum macOS 13 to run, but works best on macOS 14.2 or above
For Windows
1. Download Granola from our website
2. Open Granola.exe from your Downloads folder
3. The Granola installer should run
For iOS
1. Find Granola in the App Store
2. Install and open Granola
(the below instructions are for Granola on Desktop. For iOS, follow the in-app instructions to get started)
Launching Granola
Launch Granola from your Applications, Start Menu or home screen.
You may see a warning “Granola is from the internet. Are you sure you want to open it?” - this is expected, and you can click 'Open'.
Signing in
Currently, Granola only supports Google single sign on, so you'll need a Google workspace account or personal Gmail account to log in.
We don't currently support Outlook/Office 365, but you can join the Outlook waitlist here and we'll be in touch as soon as it's available. In the meantime, you can use Granola by sharing your Outlook calendar to Google.
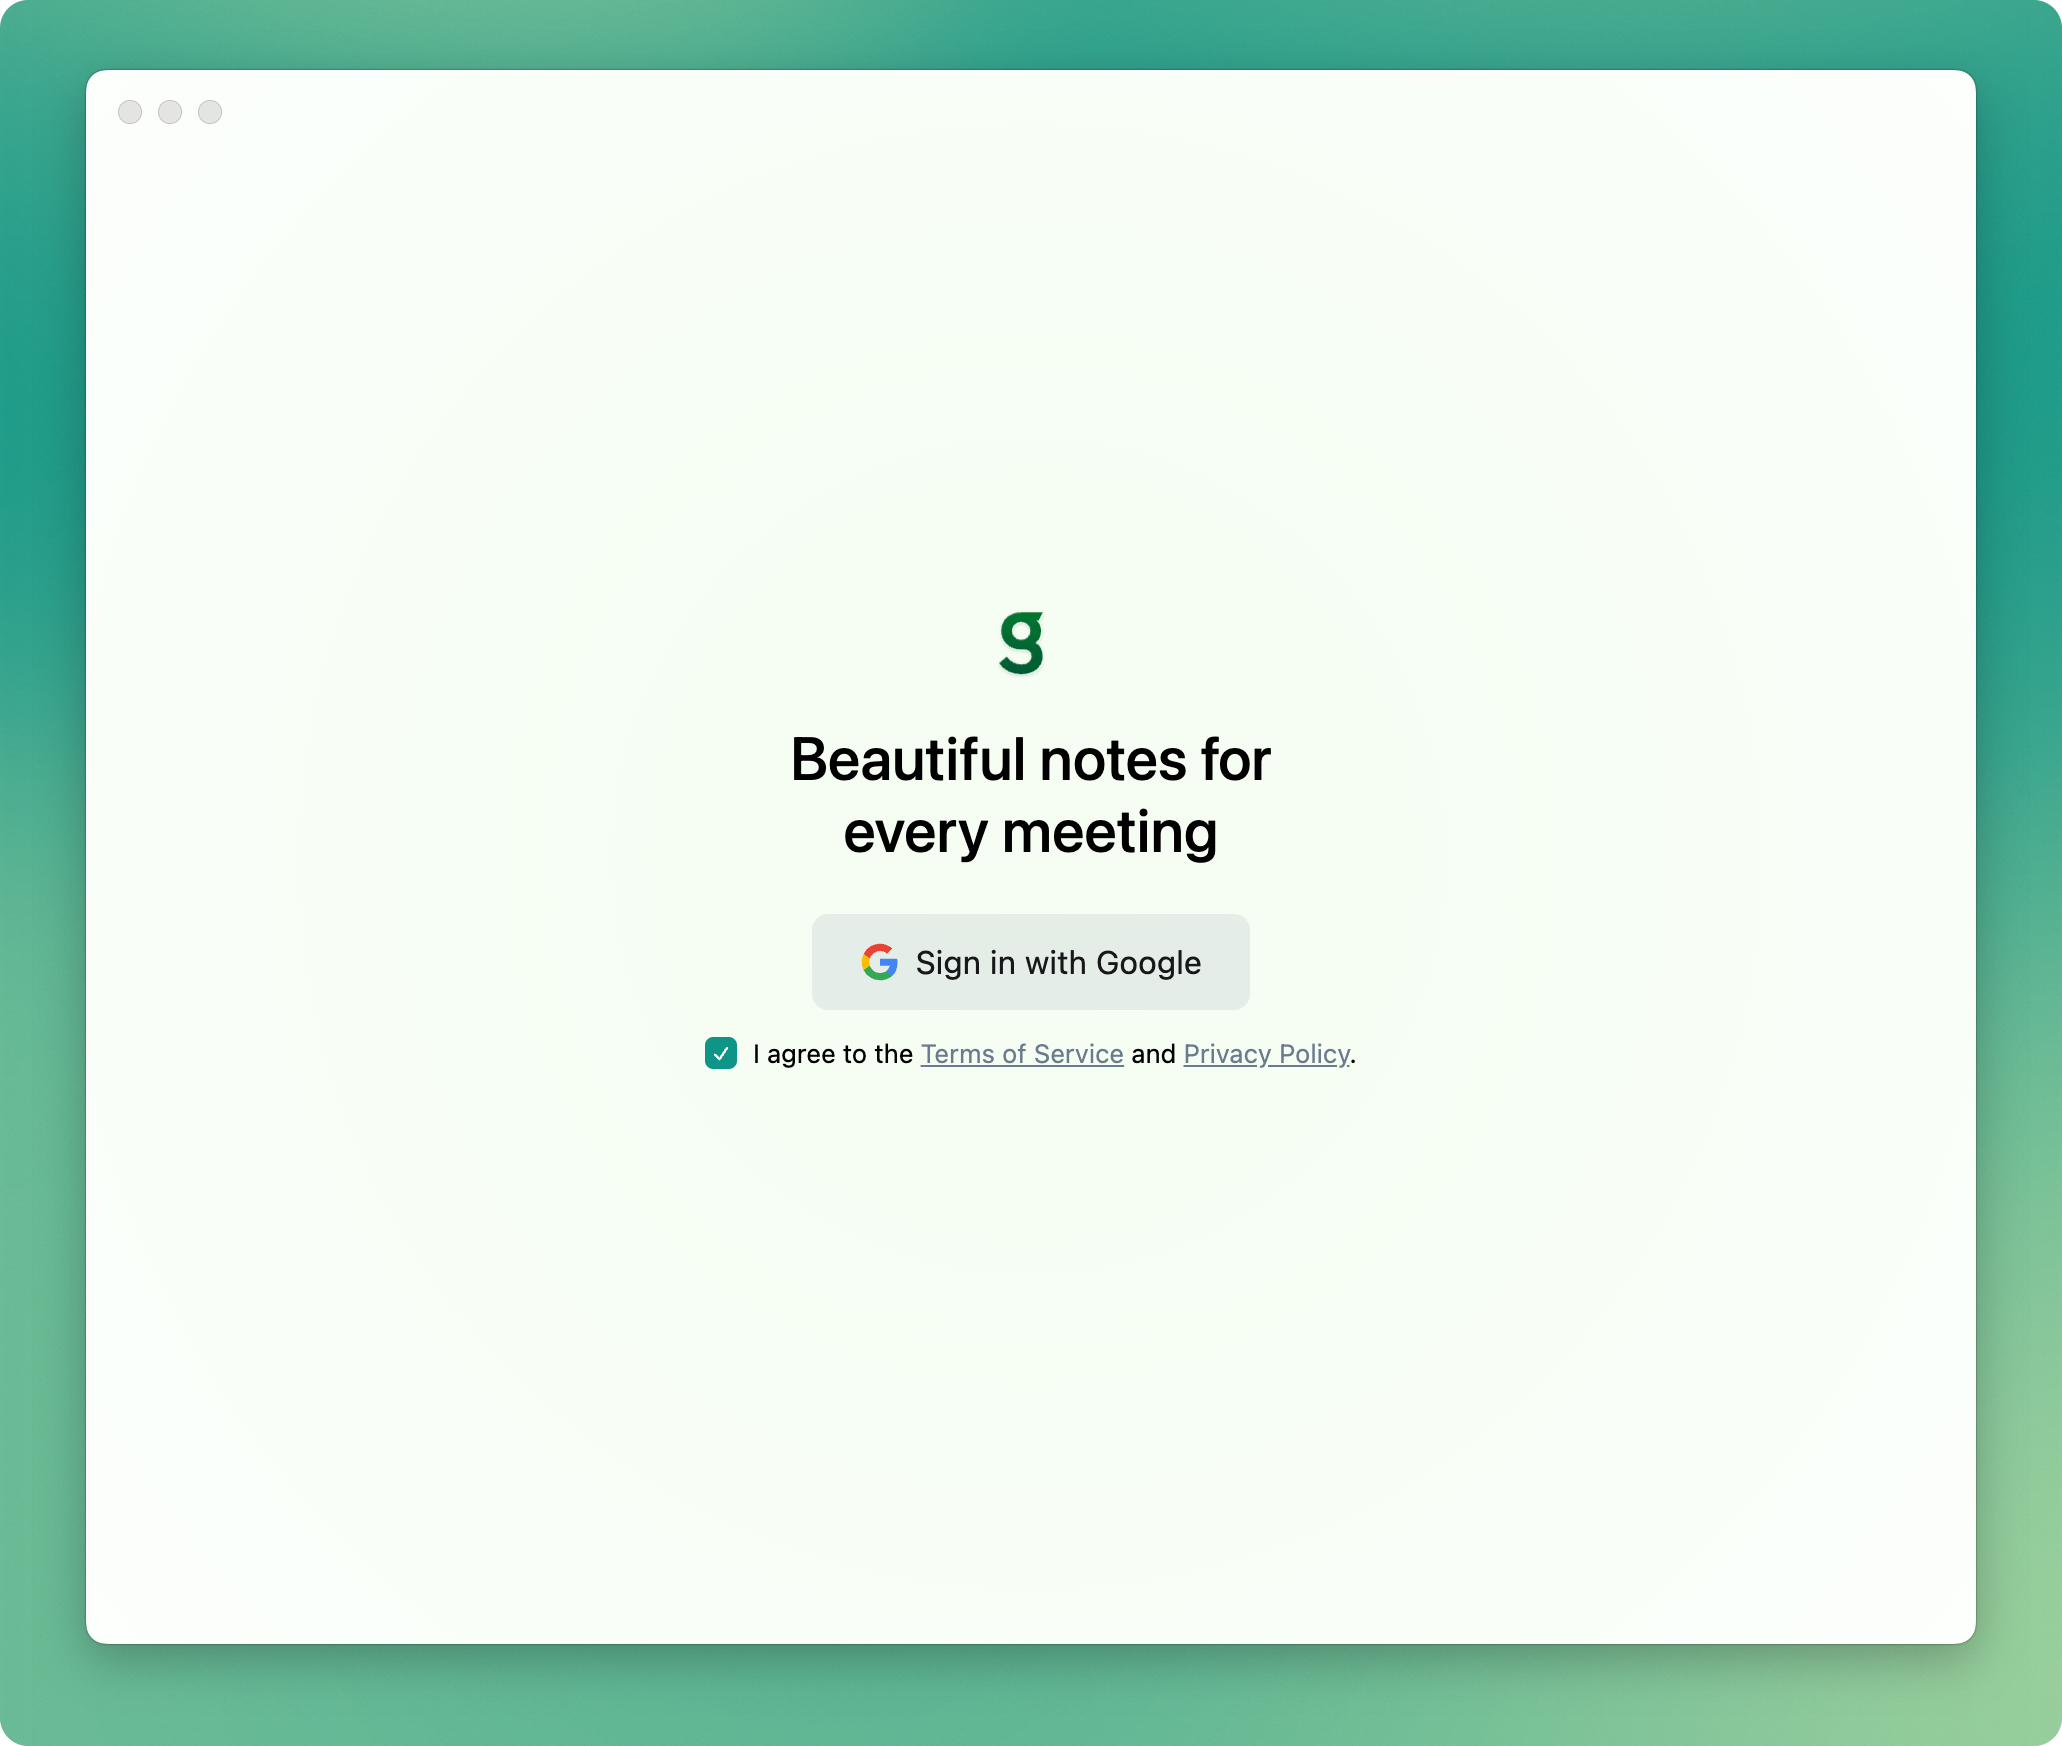
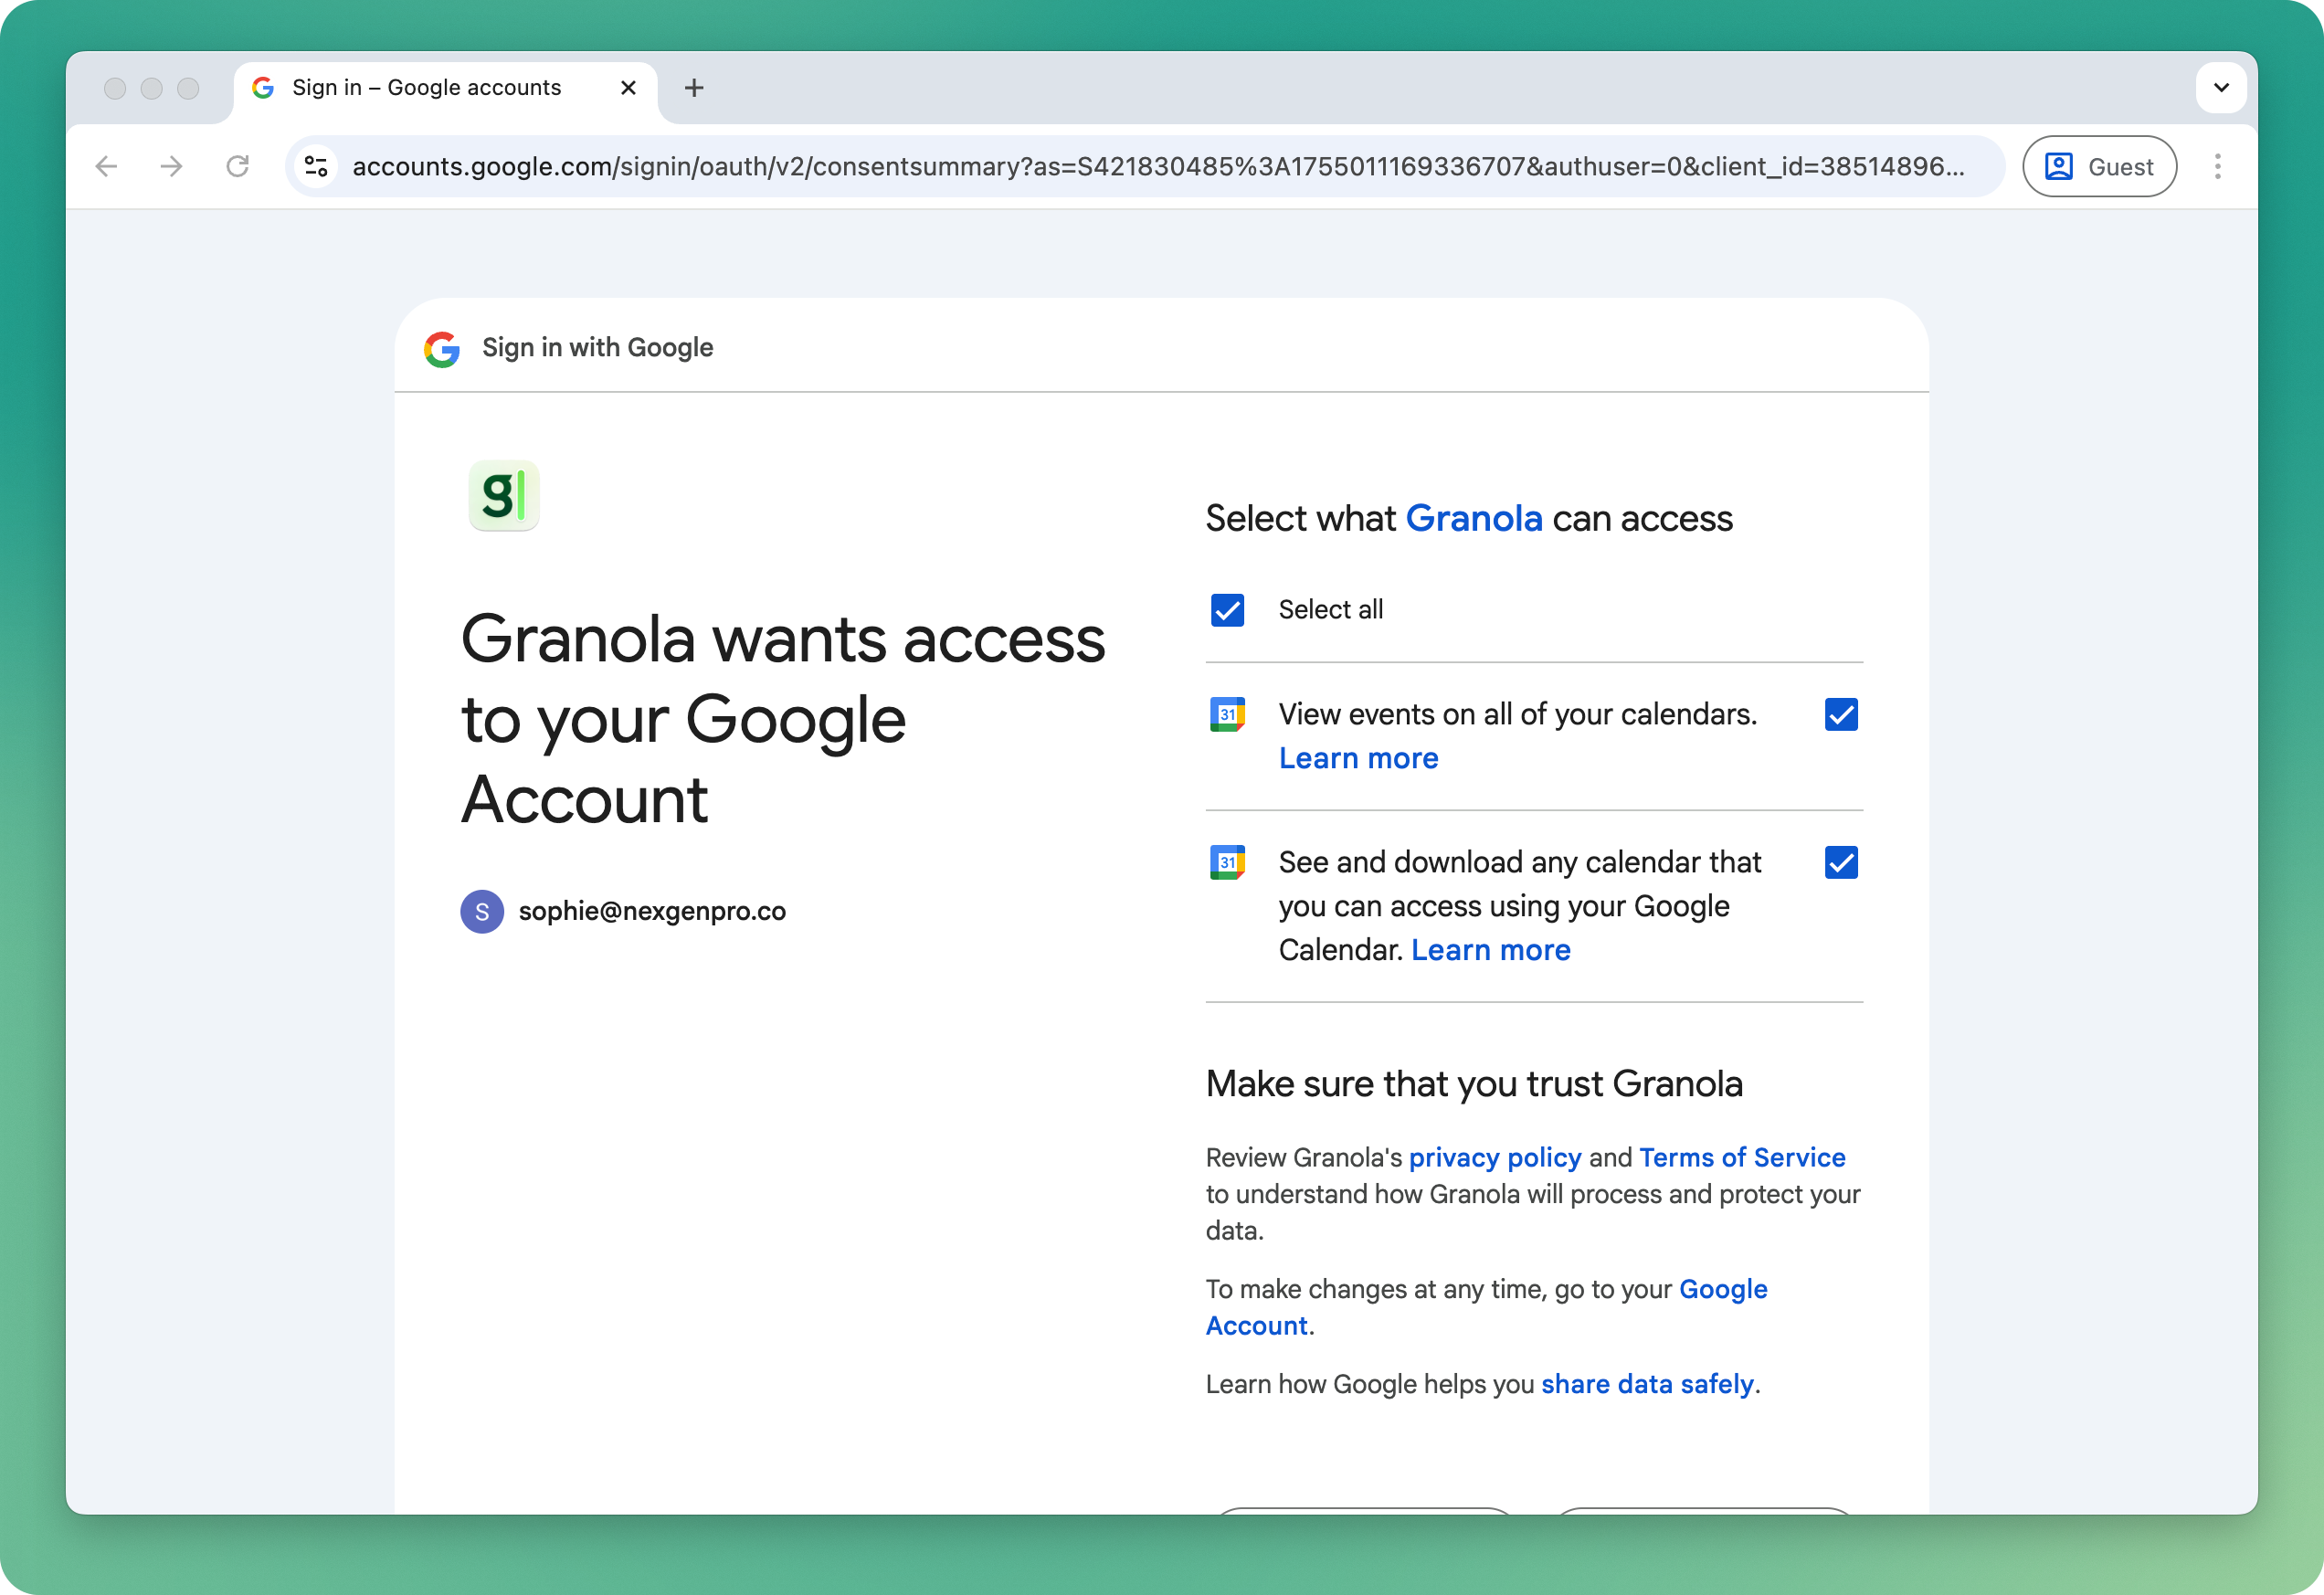
When you click Sign in with Google, your web browser should open with a new tab to complete the sign in flow via Google. We recommend you pick a work account, as Granola works best when connected to your calendar that you use for meetings.
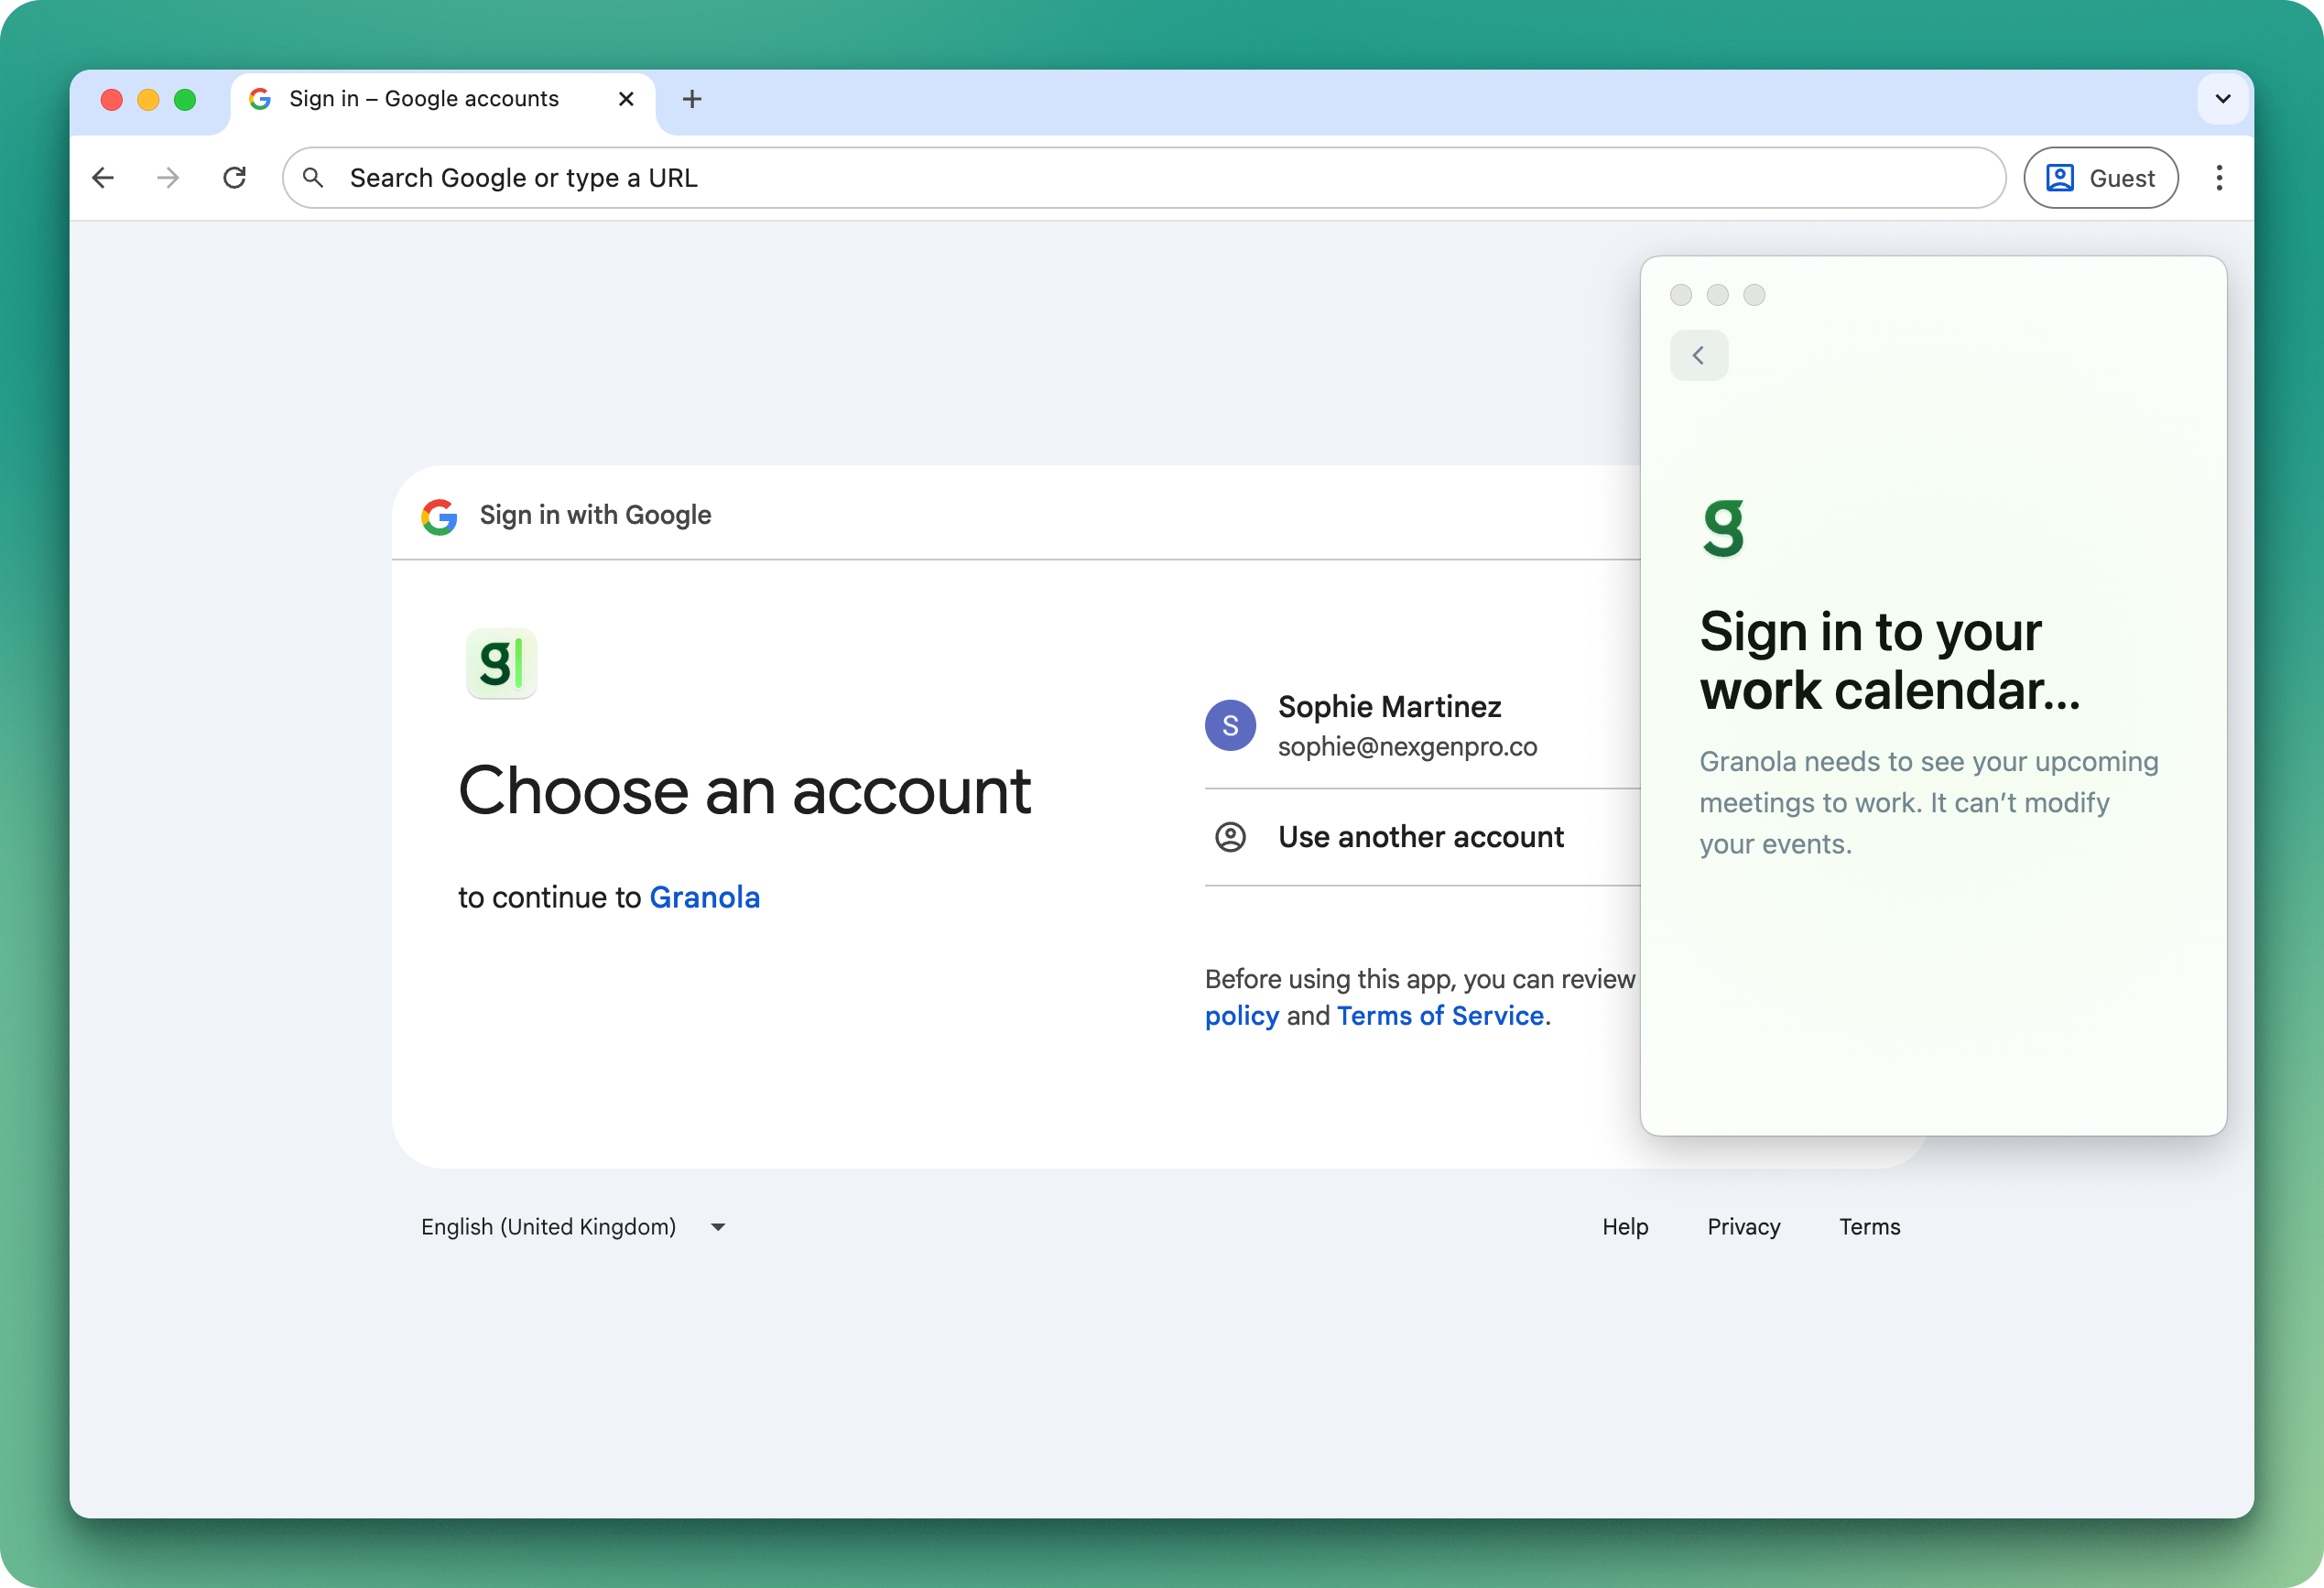
Calendar permissions
You'll then be prompted to choose your calendar permissions. You'll want to 'Select all' and then continue. Granola asks for the permissions to view events in your calendar and get the basic metadata from them (attendees, time, date, and title).
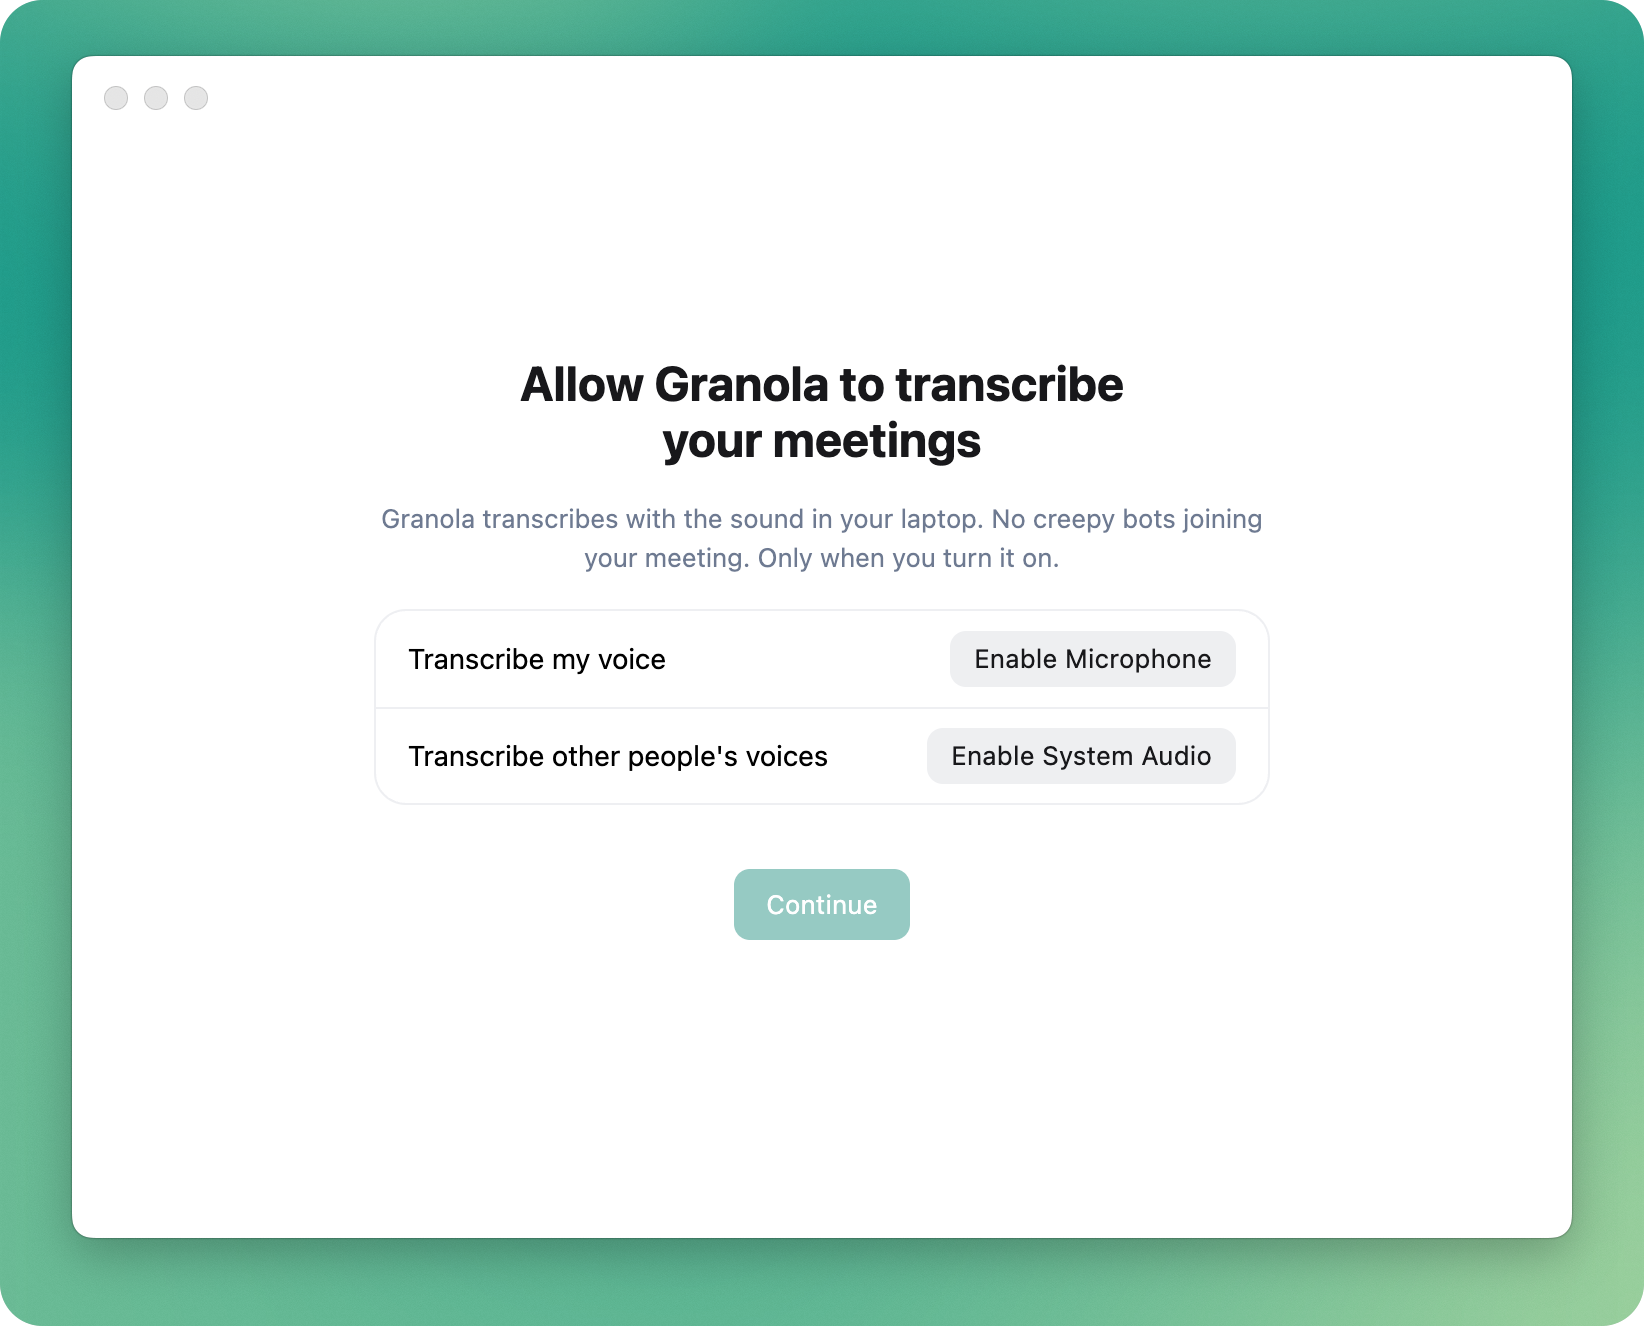
Audio permissions
Once you're logged back into Granola, you'll be prompted to enable your microphone and system audio if you're on macOS. Clicking 'Allow' on the popups will gain access and allow Granola to transcribe the audio on your device.
If you're on Windows, these permissions are automatically granted - there's no need to manually enable them.
If you ever want to go back and review them, you can find the settings under:
[for macOS] System Settings > Privacy & Security > Microphone / Screen & System Audio recording
[for Windows] Settings > Privacy & Security > Microphone
See audio troubleshooting steps here.
Testing a meeting
Demo meeting
When you sign in for the first time, you'll see a meeting already waiting for you to help you get started with Granola. It's a 2 minute tutorial from our co-founder Sam, who will help walk you through the basics of using Granola.
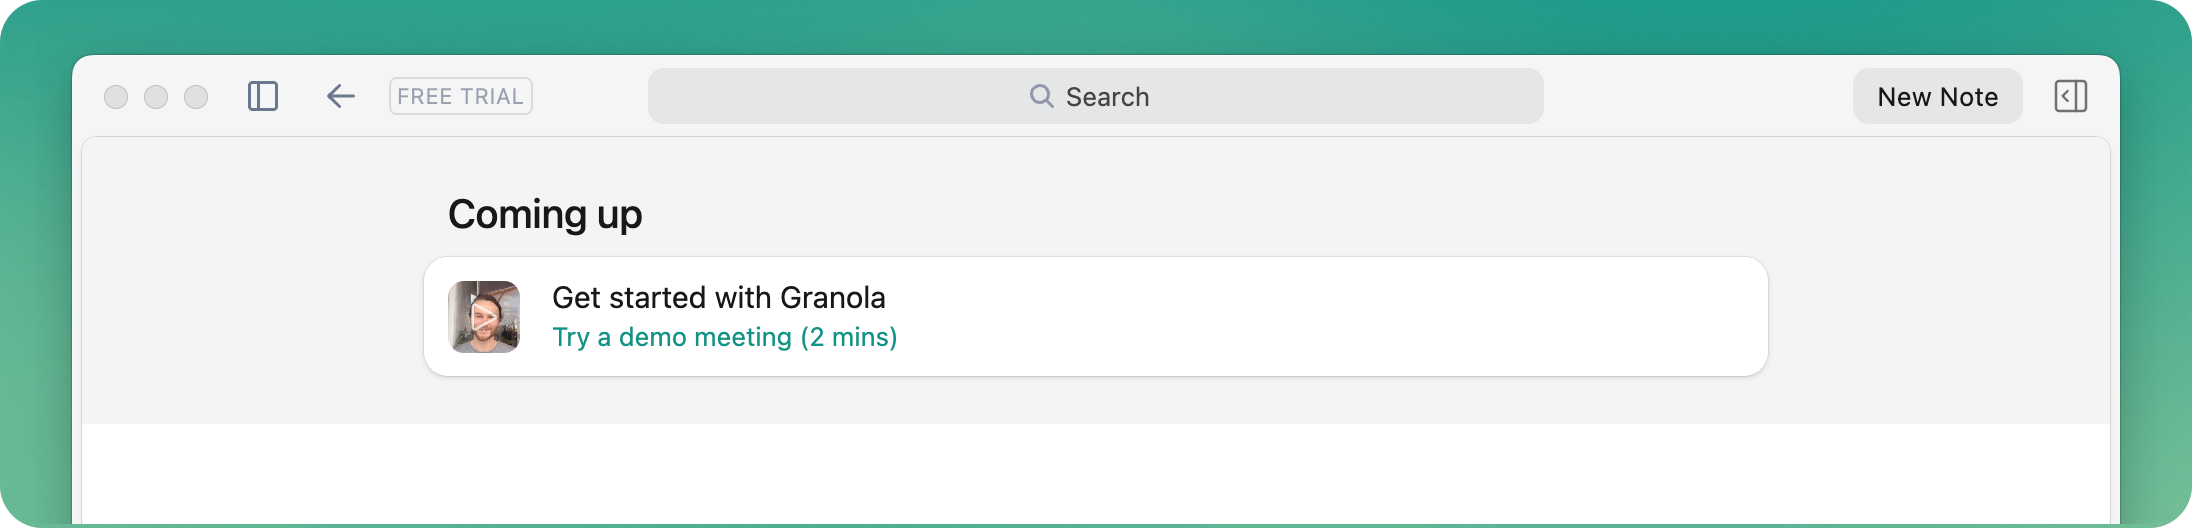
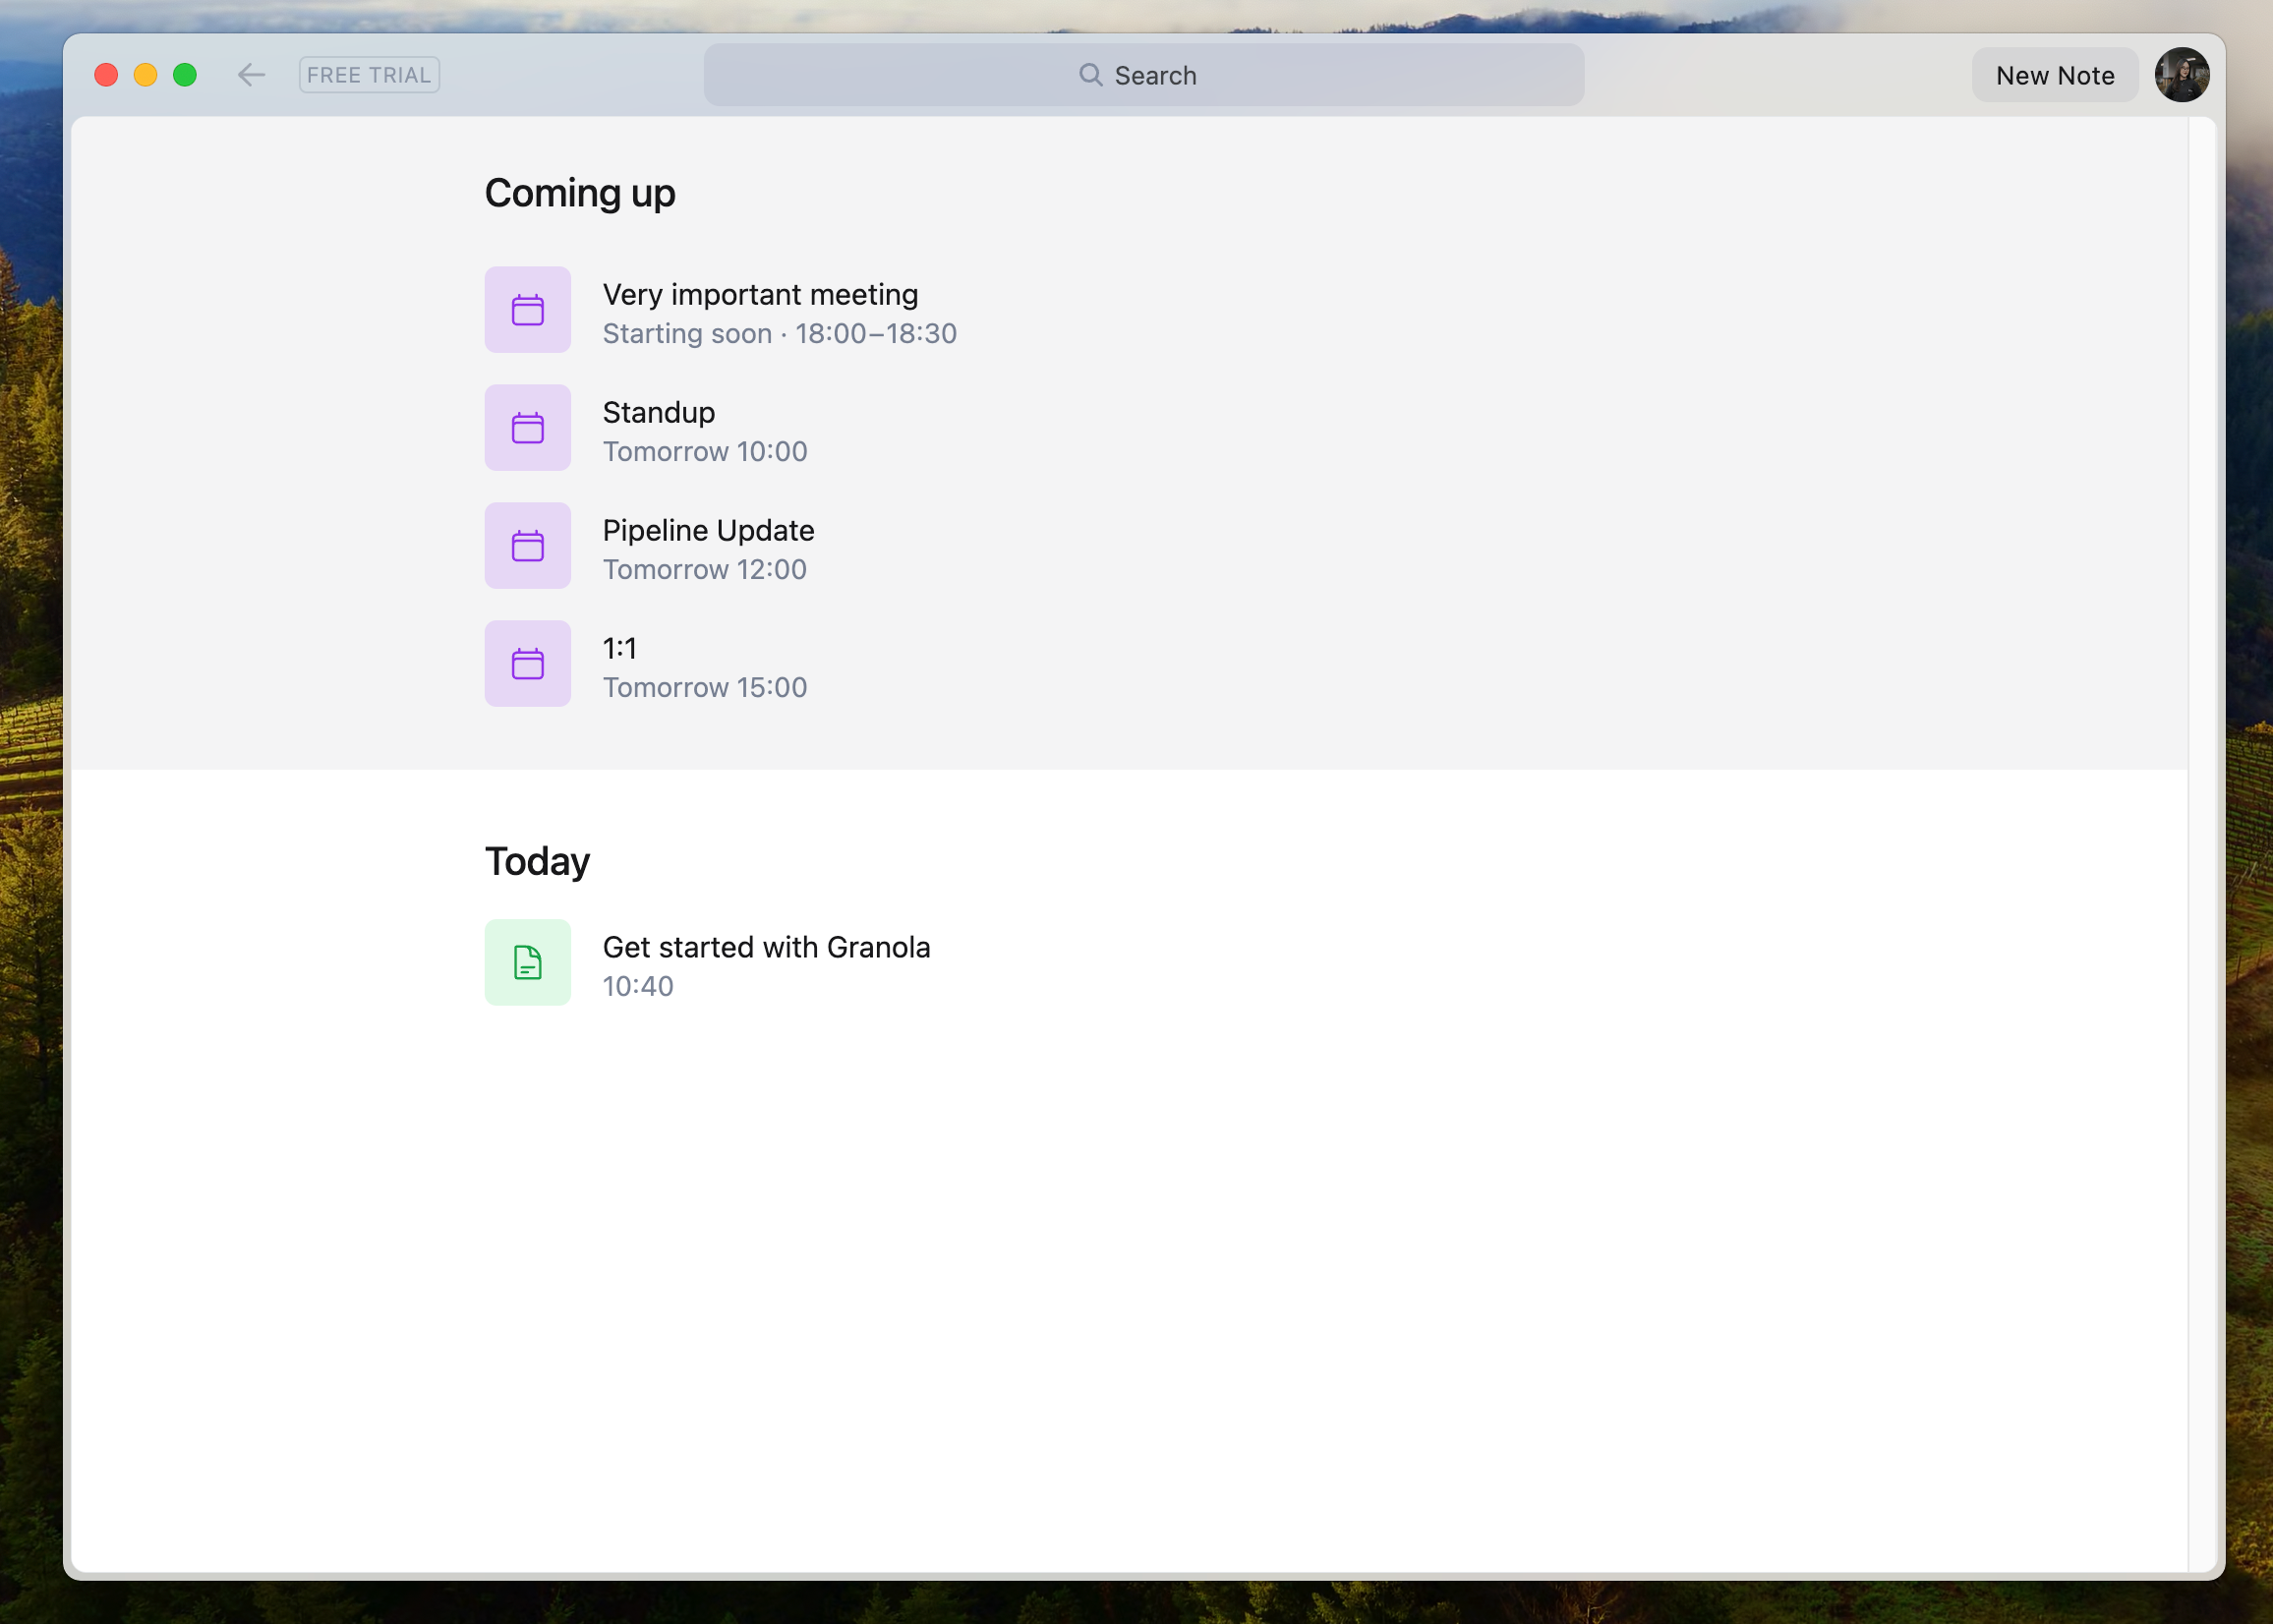
You're all set 🚀
Granola should now look something like this, showing your upcoming meetings, and the note you took from the demo meeting.