Workspaces
What are workspaces?
Granola organizes your work into workspaces - a home for your notes, folders, and meeting insights. You can create a personal workspace just for yourself, join your company's workspace to collaborate with your team, or have both to separate out your work and personal notes!
Workspaces aren’t yet supported on the Granola iOS app. Meeting notes will be added to your oldest workspace by default and can be moved between workspaces via our desktop app by following the steps at the bottom of this article.
Using a personal workspace
A personal workspace is perfect if you want to keep your notes and meeting insights private and organized just for you. Your personal workspace gives you:
Private notes by default - everything stays private unless you choose to share
Ask Granola - search and ask questions across all your notes and transcripts to quickly find information
Your own organization - create folders, templates, and recipes that work for your workflow
Full control - you're the admin of your own workspace
You can always join or create a team workspace later if you want to start collaborating with others.
Collaborating in a team workspace
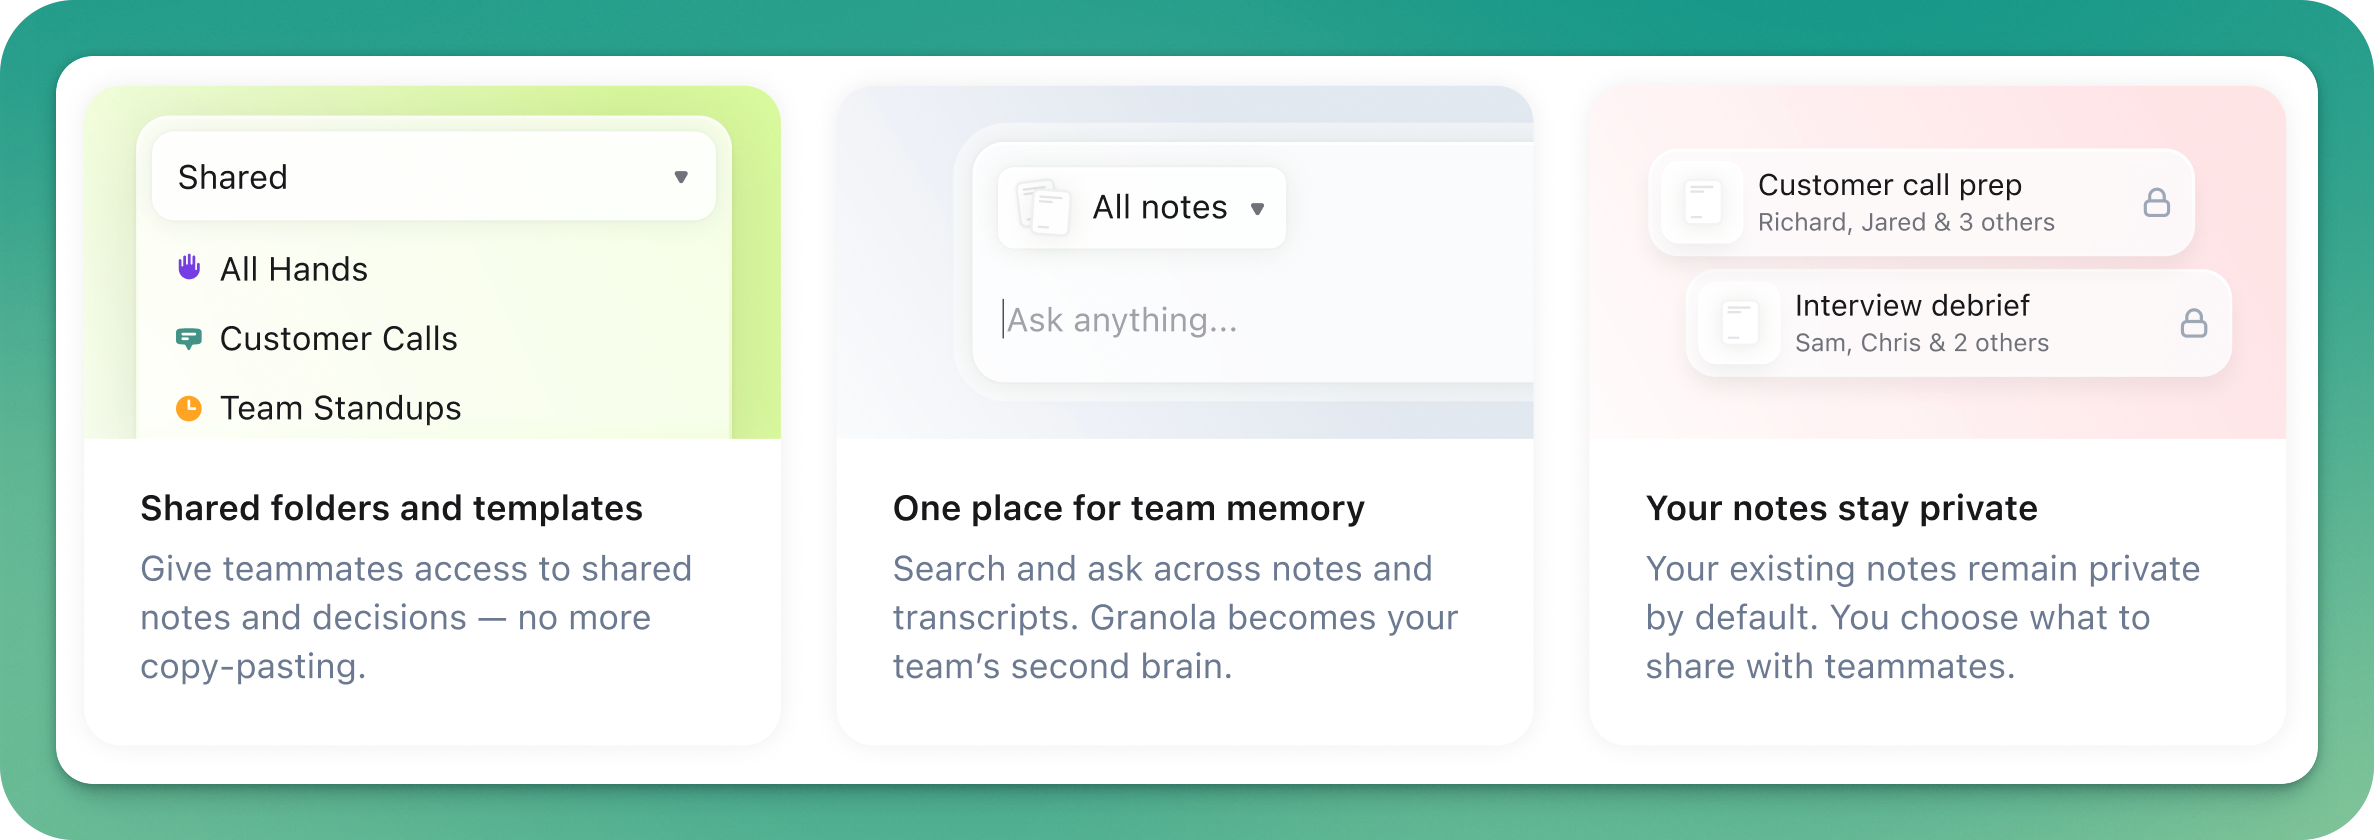
A team workspace is perfect if you want to collaborate with colleagues while keeping control over what you share. Your team workspace gives you:
Private notes by default - everything stays private unless you choose to share
Shared notes and folders - from standups, retros, customer calls, and more
Templates and recipes for your team - create and share templates and recipes with teammates to standardize note formats and meeting follow-ups
Ask Granola - search and ask questions across all your notes and transcripts to build a shared knowledge base
You can always create a personal workspace later if you want to keep some notes completely separate from your team.
Privacy of your notes
Your notes are never shared by default - they'll remain private unless you choose to share them by adding them to a shared folder, or share them directly with someone else.
Getting started
Creating a workspace
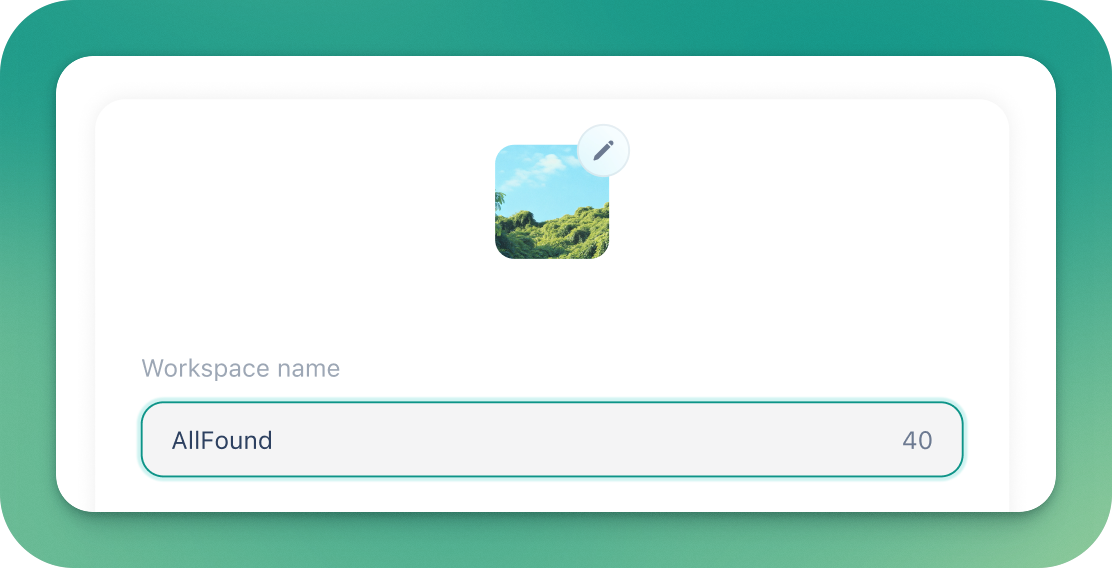
When you first set up Granola, you can create a workspace by choosing a name and picture for it. You can always add additional workspaces later by pressing the ‘Add workspace’ option in the bottom-lefthand menu within the Granola desktop app.
Joining an existing team workspace
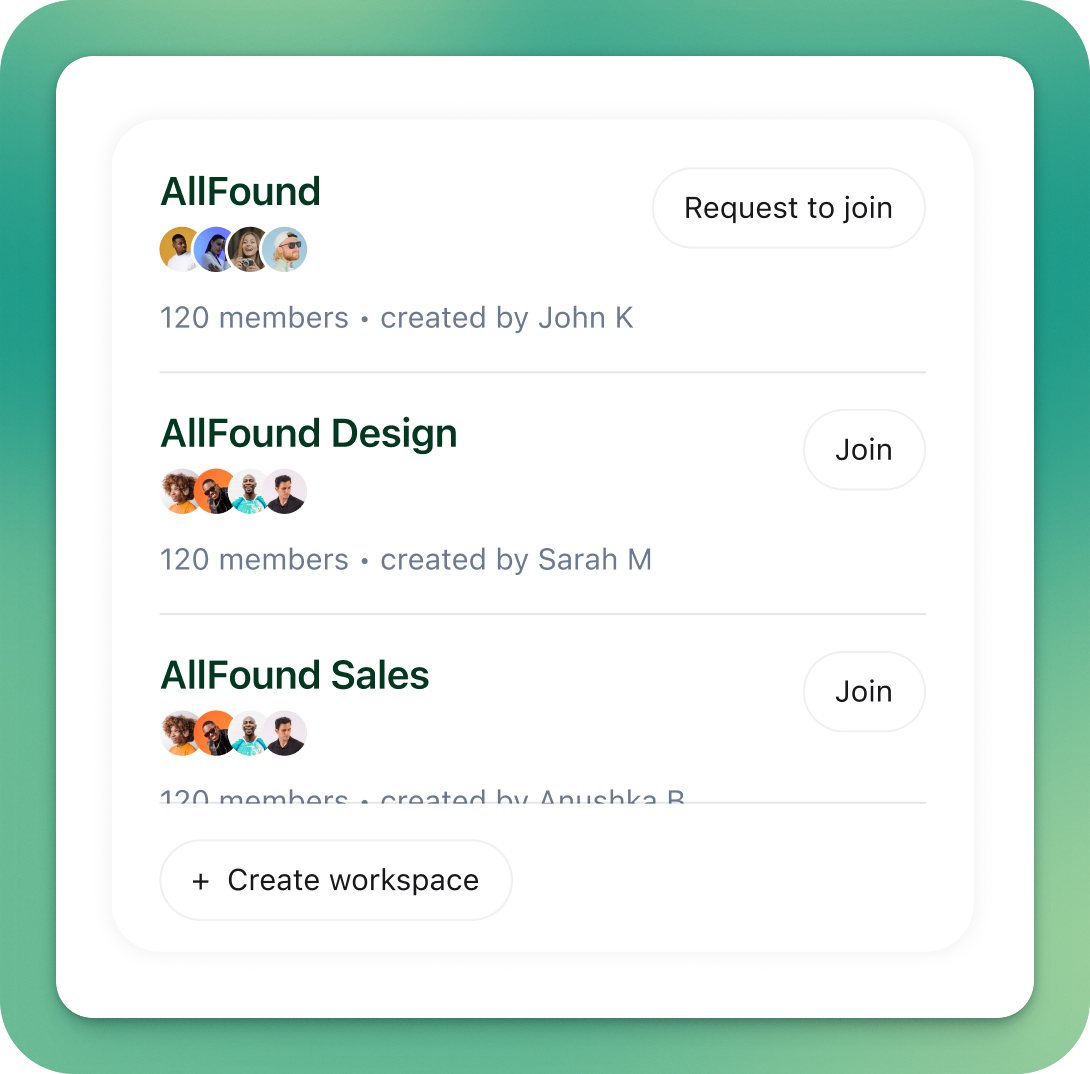
If your company already has workspaces created, you can join an existing one - or send a request to the admins to join any private workspaces. You've also got the option to create a new workspace for your team.
By joining a workspace, you're agreeing to the Terms of Service.
Switching workspaces or joining new ones
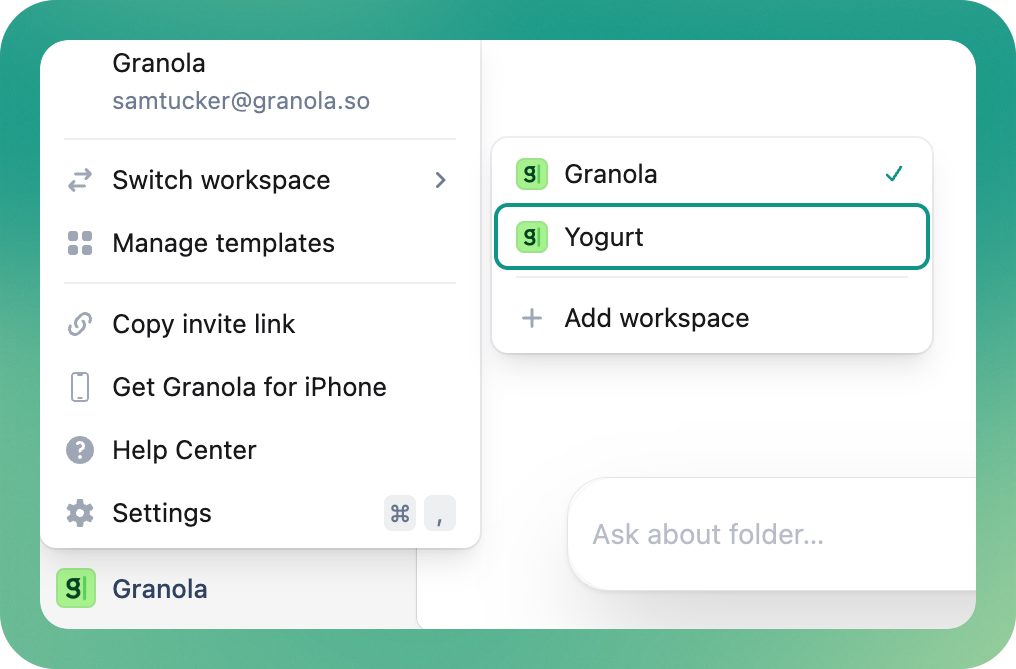
You can join multiple workspaces and switch between them easily to keep different sets of notes separated. Just click your workspace name in the bottom-left corner and then 'Switch workspace' - or add workspace to join or create a new one.
Inviting teammates to a workspace
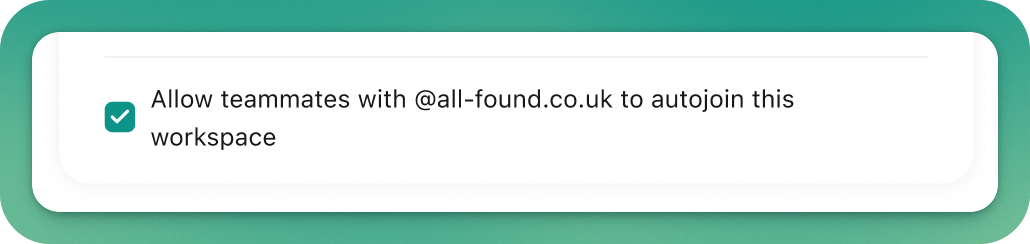
If you've created a team workspace, you can allow teammates with the same email domain as you to join the workspace without having to request access. This makes it a lot easier for them to get started on Granola! If you’d prefer this to be a personal workspace, we recommend making sure this box is unchecked.
If you've got a paid plan, you'll be charged per person that joins your workspace - this will appear on your next invoice as a pro-rata charge based on the date they joined the workspace.
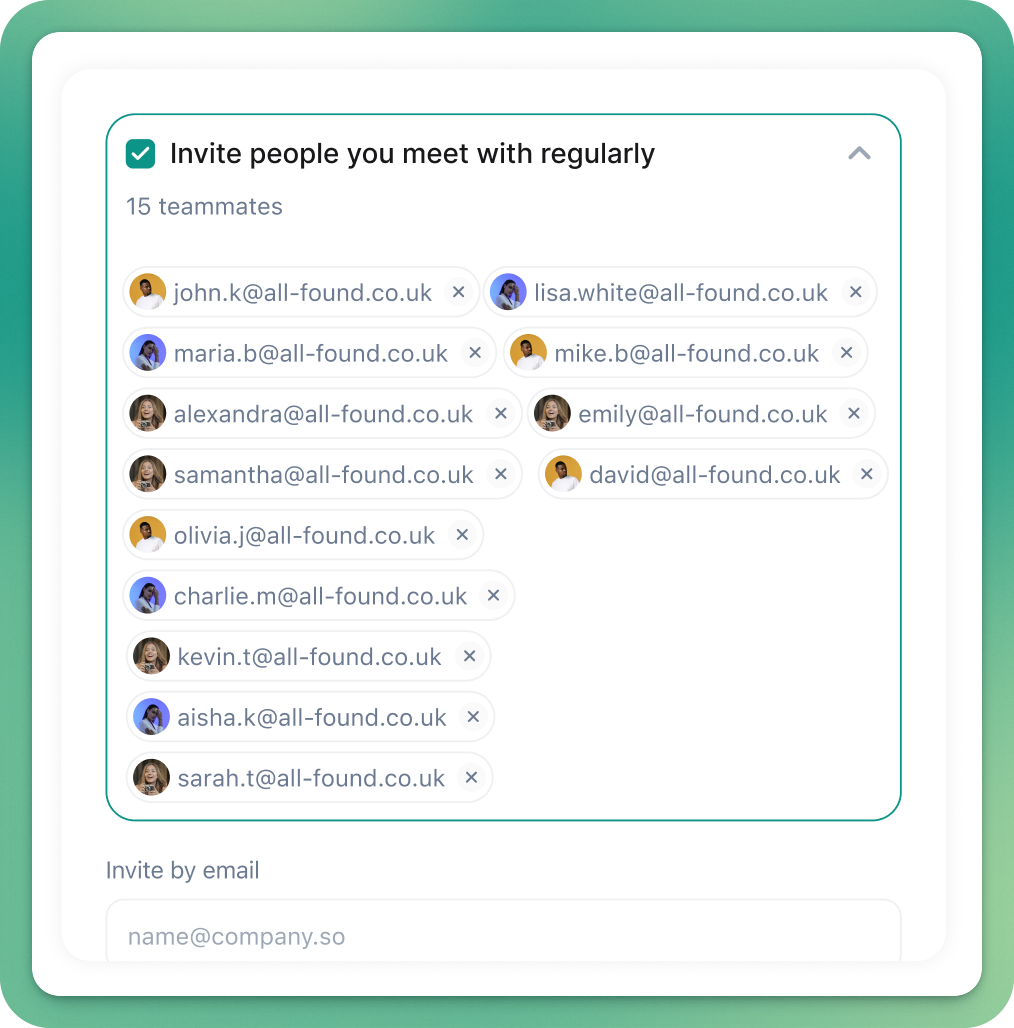
When creating a workspace, you can invite teammates by entering their email - or select all your company teammates that you already meet with. This list is created from anyone at your company who you've previously had a Granola meeting with:
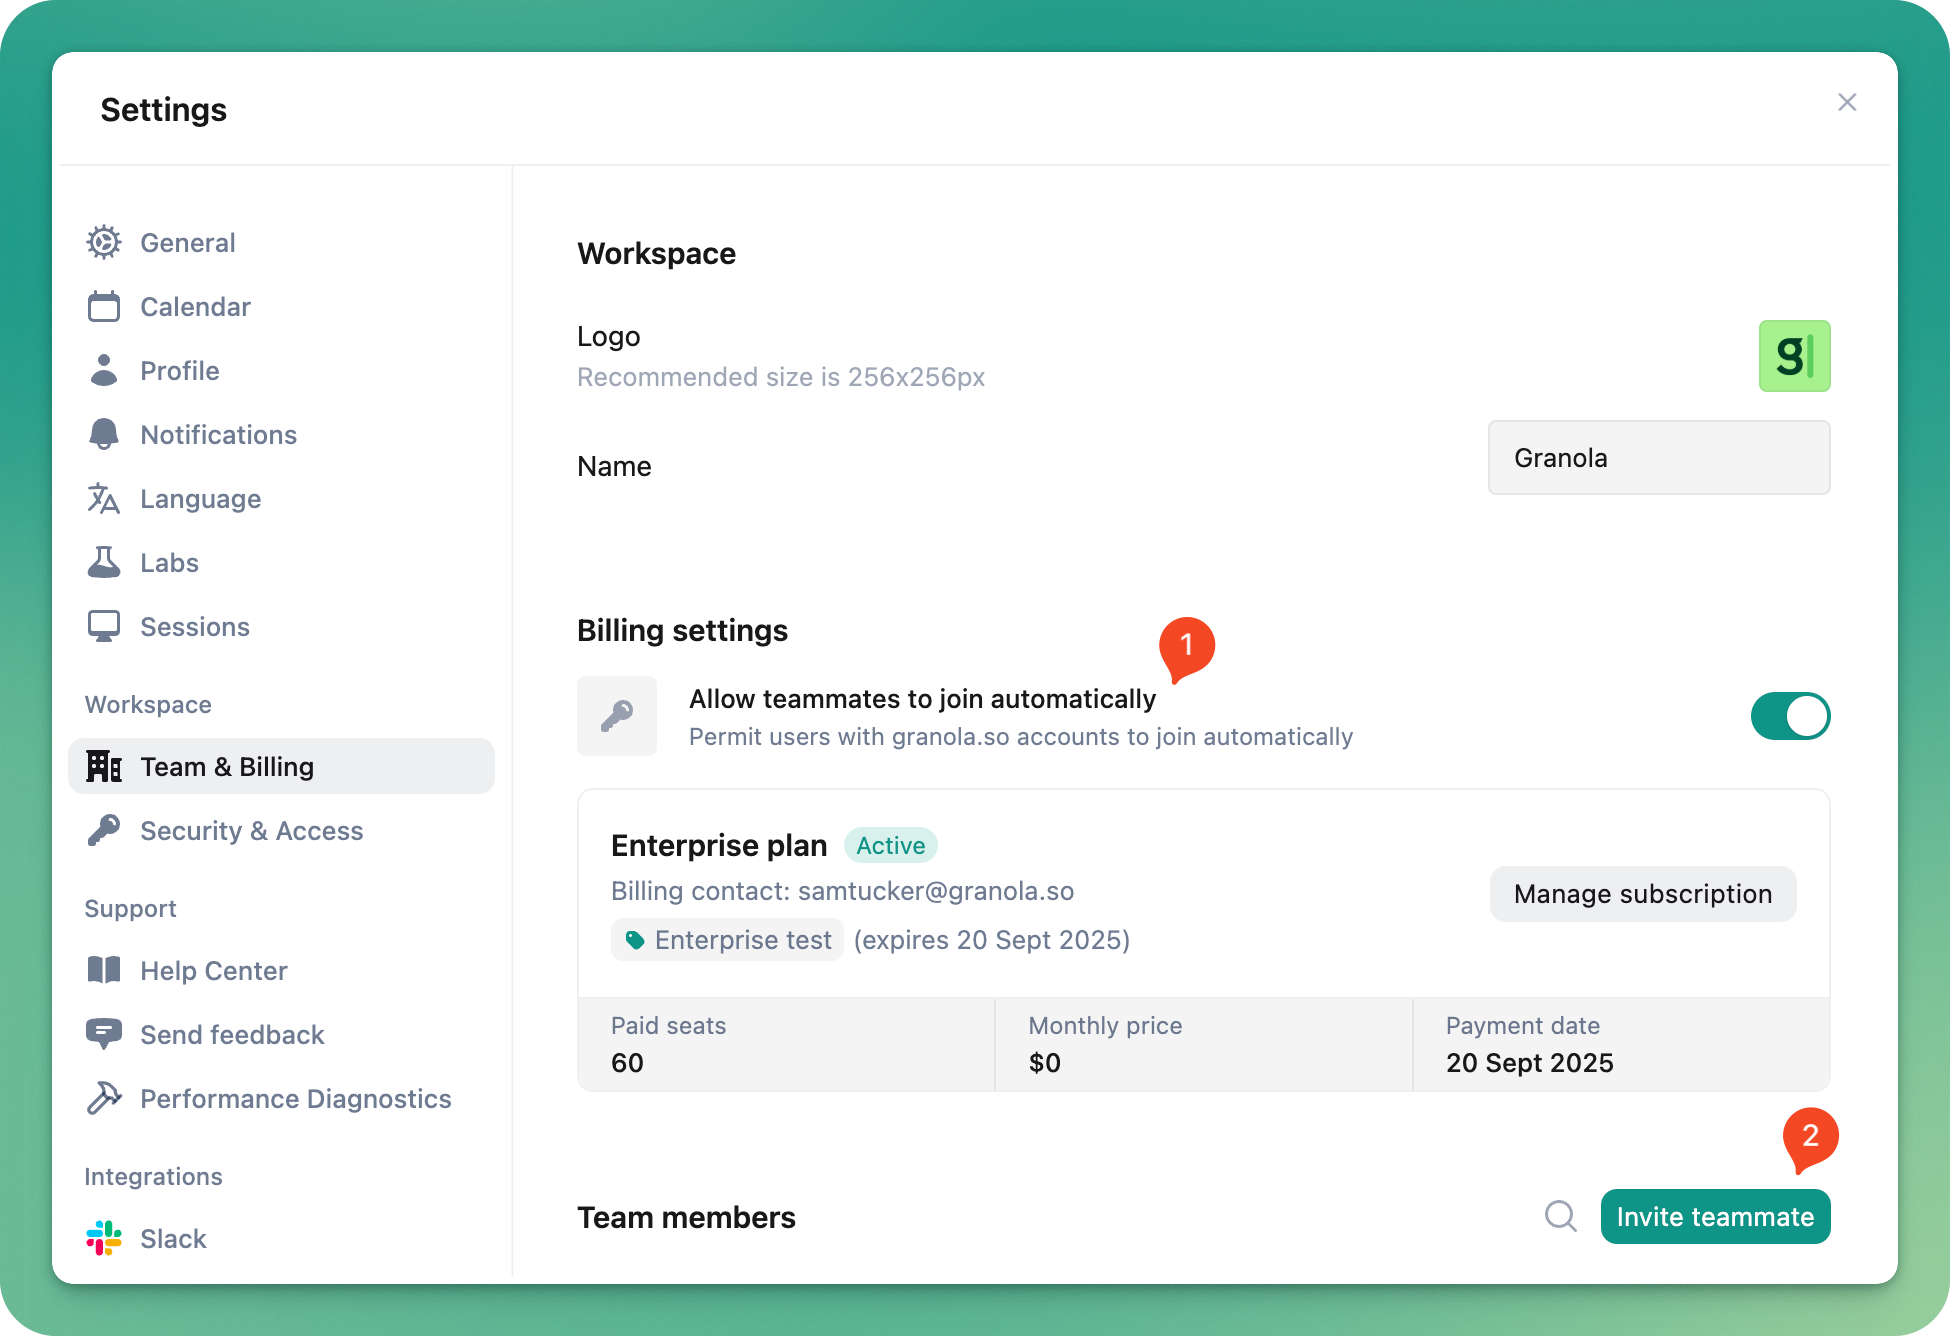
You can adjust auto-join permissions, and invite more teammates later by heading to the Team & Billing sections in Granola Settings.
Removing people from your workspace
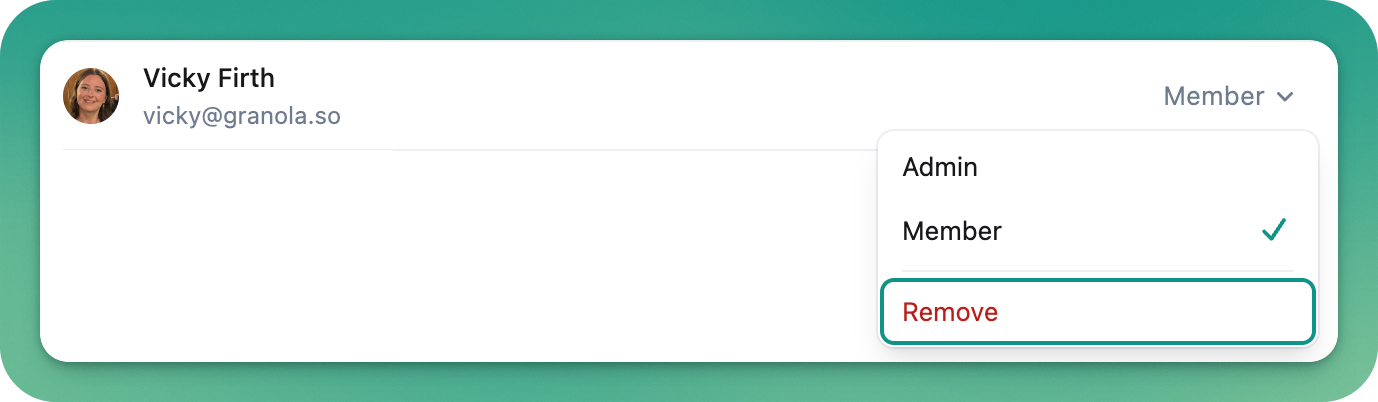
As a workspace admin, you can remove teammates in the Team & Billing sections of Granola settings - find them in the list of Team members and then click the drop-down next to their name.
Important: If you're removing someone so they can continue using Granola in another workspace, give them a chance to move their notes first. Once removed, they won't be able to access their existing notes, folders, templates, or recipes in your workspace. Notes will continue to remain visible in any shared folders within the workspace.
If you've been removed from a workspace and need to recover your notes, contact the workspace admin to request temporary access. This will allow you to transfer your notes to another workspace before losing access again.
Moving notes between workspaces
Workspace admins have a setting to allow/prevent moving notes between workspace - but it's your responsibility to make sure you have permission to move notes between workspaces based on your company policies.
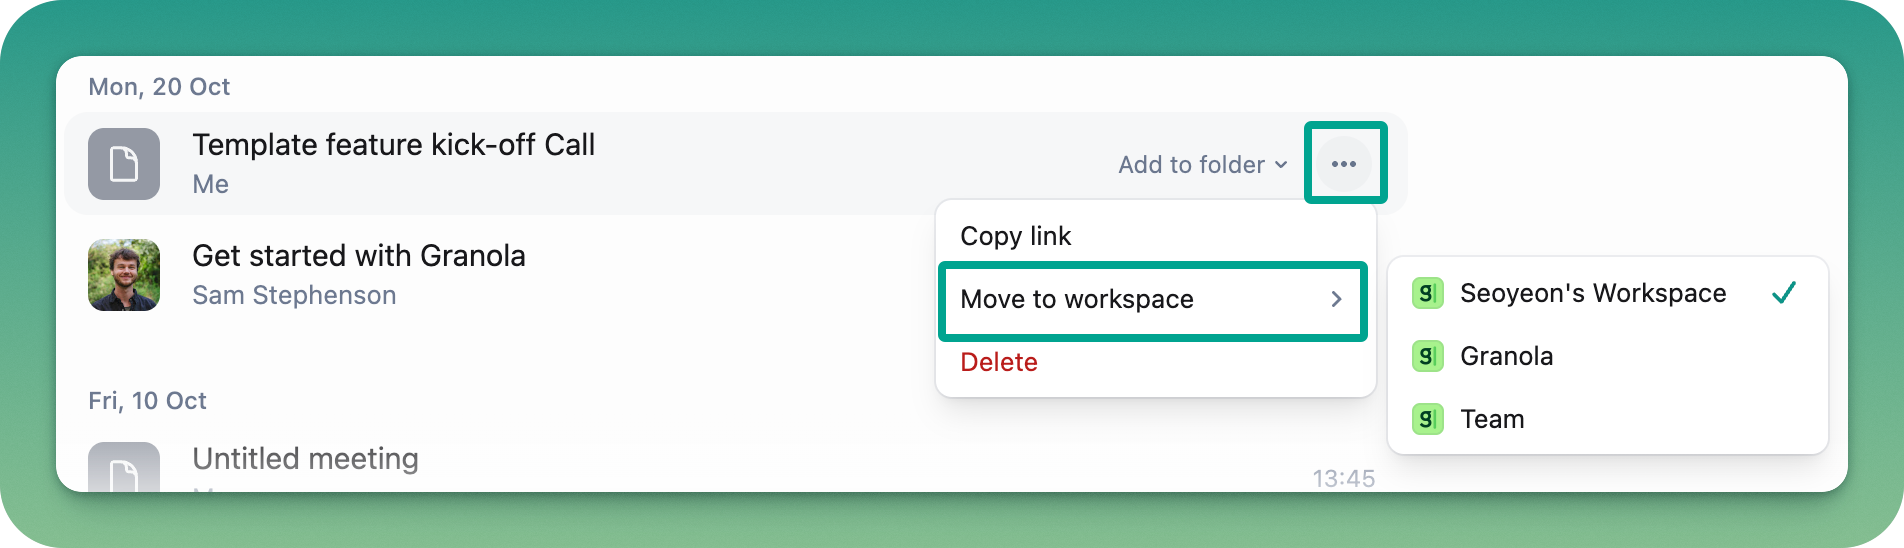
You can move notes between workspaces you are a member of. To do this, click on the 3 dots that appear when you hover over a note, select 'Move to workspace' and click on the workspace you'd like to move the note to.
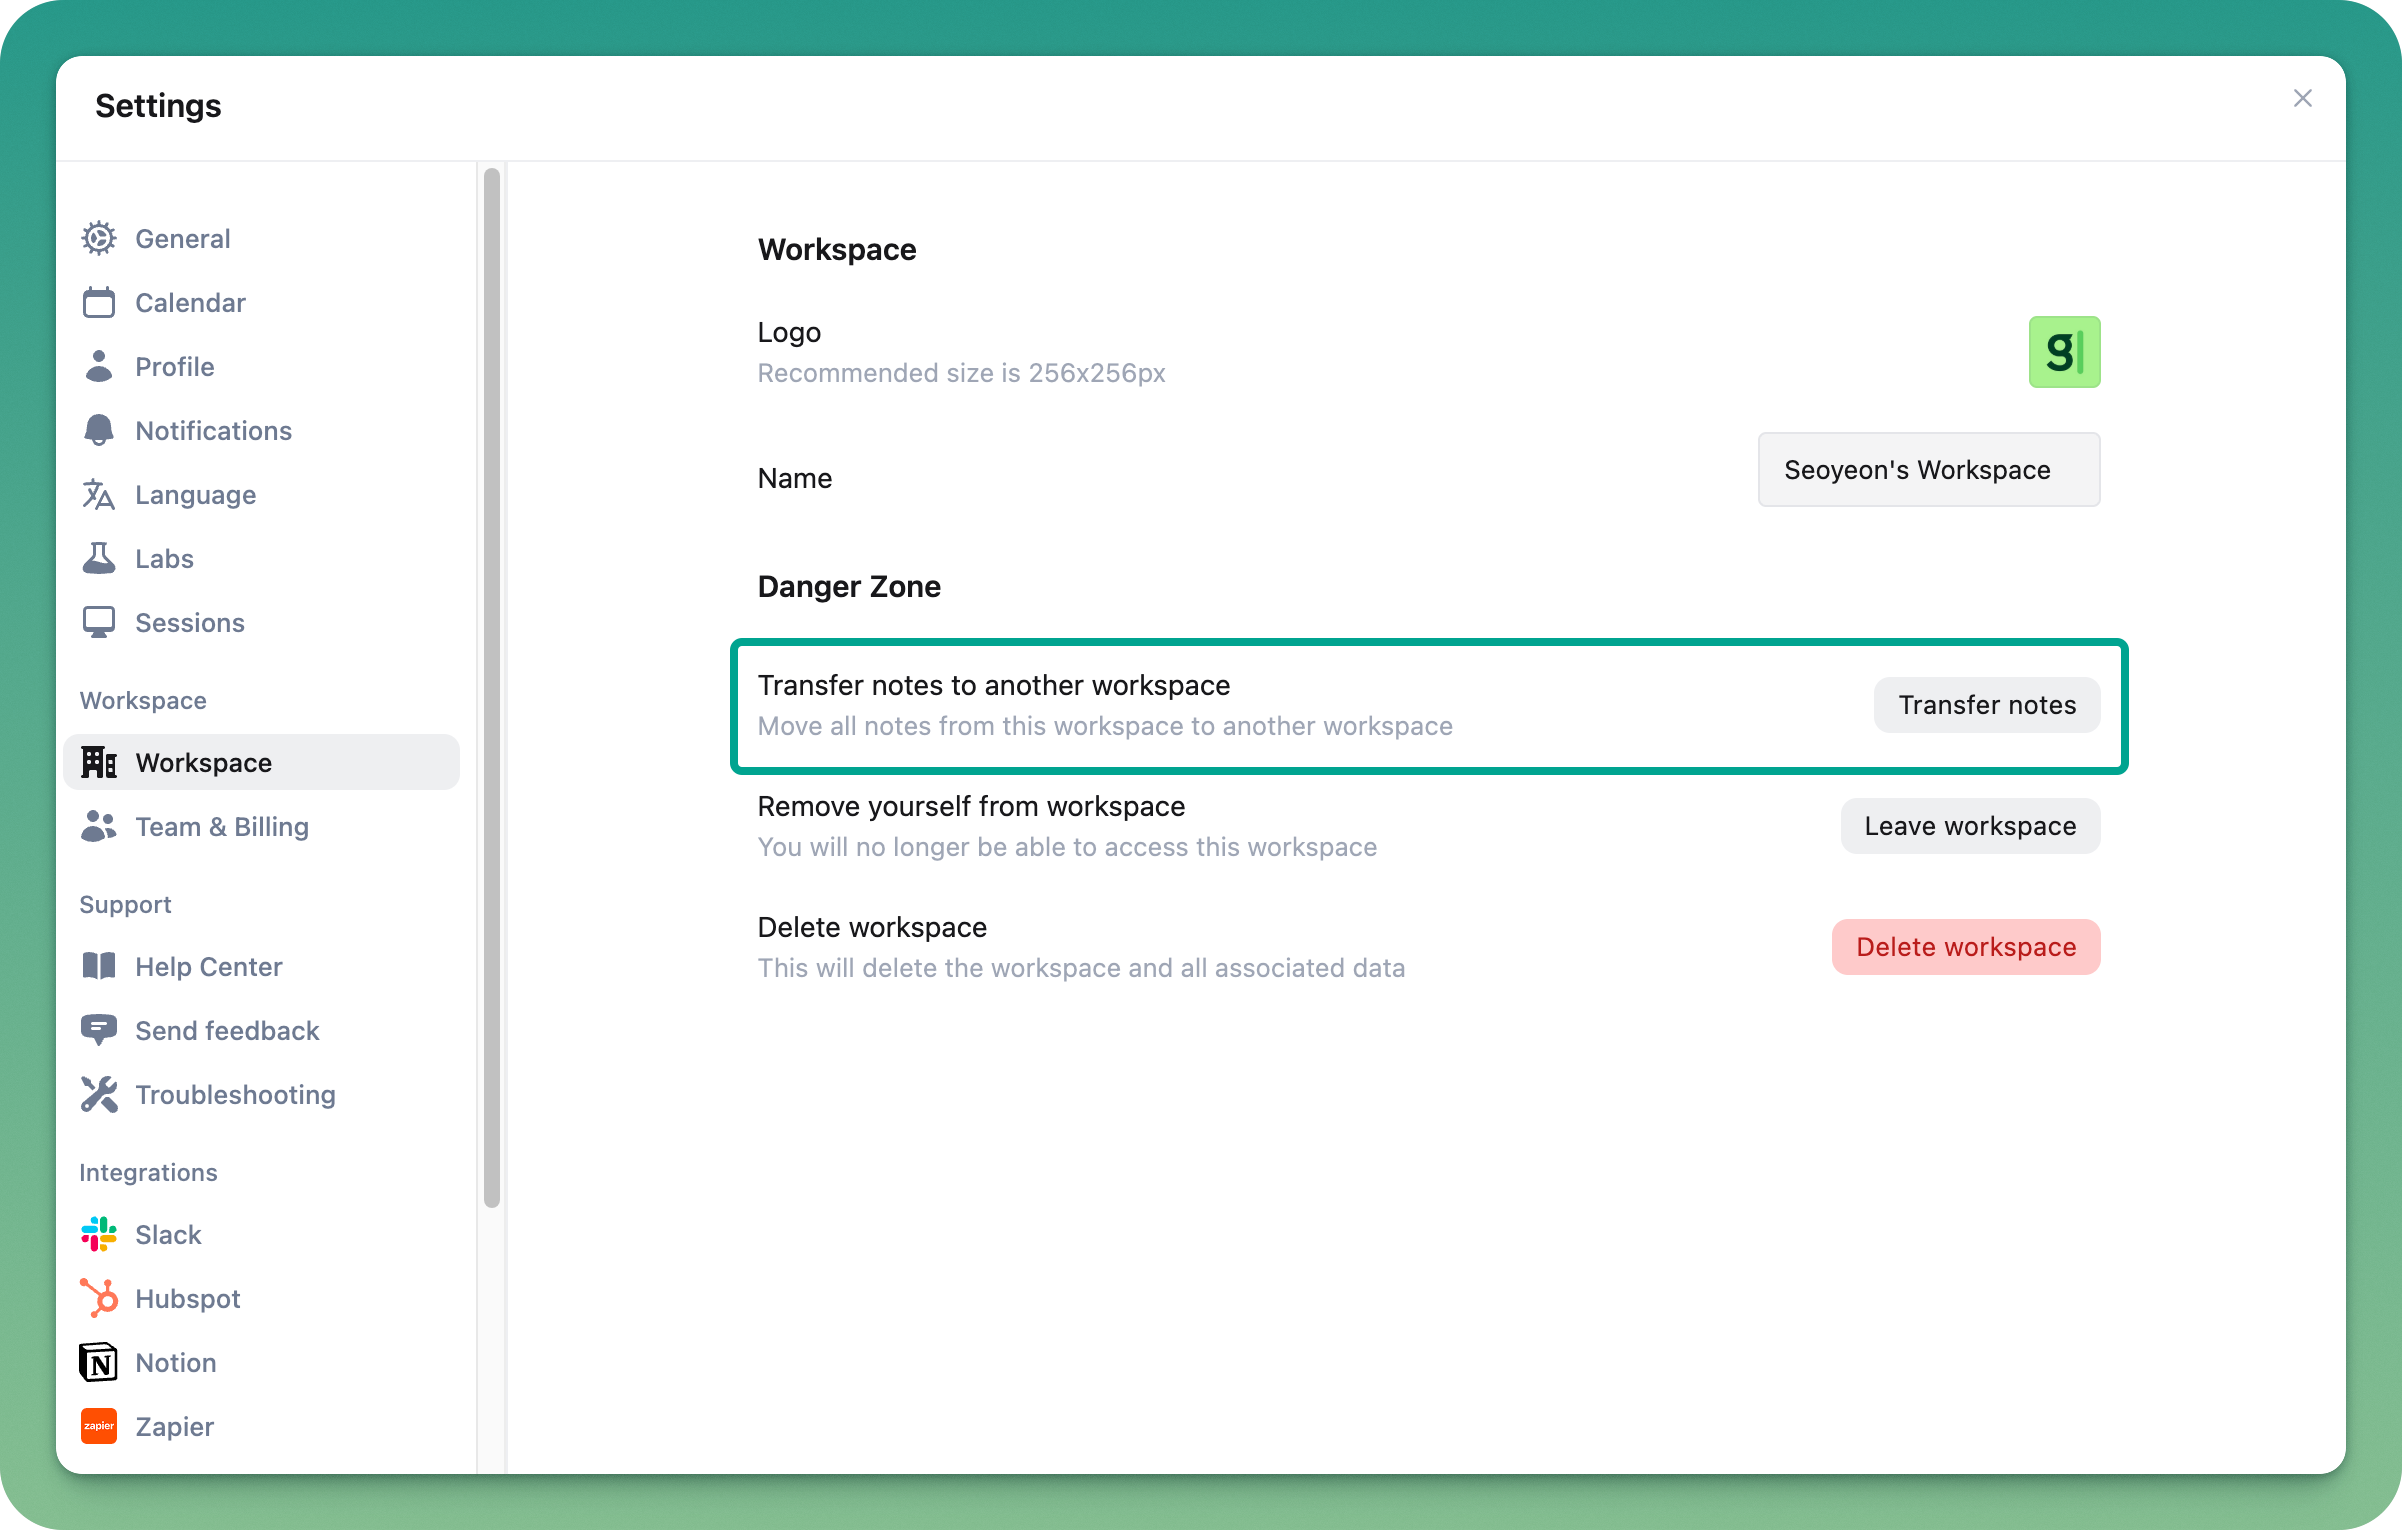
To move all your notes to a different workspace, go to Settings > Workspace > Transfer notes
Creating and upgrading a new personal workspace
If you want to move to a personal workspace or upgrade to a business plan without paying for everyone in your current workspace, follow these steps:
Set up a new workspace - Click your workspace name in the bottom-left corner of the Granola desktop app and select 'Add workspace' to create a new workspace
Transfer your notes - Switch back to your existing workspace, and move your notes to your new workspace by going to Settings > Workspace > Transfer notes (as described above)
(If you're the admin) Nominate a new admin - If you're the admin of the workspace you're leaving, make someone else an admin via the Team settings within the Granola desktop app before you leave
Leave the old workspace - Once your notes are safely transferred and a new admin is in place (if needed), you can leave your old workspace
Important: Make sure you transfer your notes before leaving the workspace. Once you leave, you won't be able to access your existing notes unless a workspace admin adds you back temporarily.